Fix QuickBooks Error Code 15106 with These Simple Steps

- By Jonathan Browns
- Sep 18, 2025
- Accounting
- 7 min read
Do you regularly use QuickBooks and manage your business’s finances using this program? Then, it is normal for you to face QuickBooks Error Code 15106. Most often, the users might witness this error while updating the program. It may happen when antivirus software prevents you from installing the latest QuickBooks updates.
If you are encountering Error 15106 in QuickBooks and don’t know how to deal with the same. In this article, you can spot everything from causes and symptoms to the troubleshooting methods. You can get everything on this 15106 error of QuickBooks under one single post.
Know More Details About Error 15106 of QuickBooks
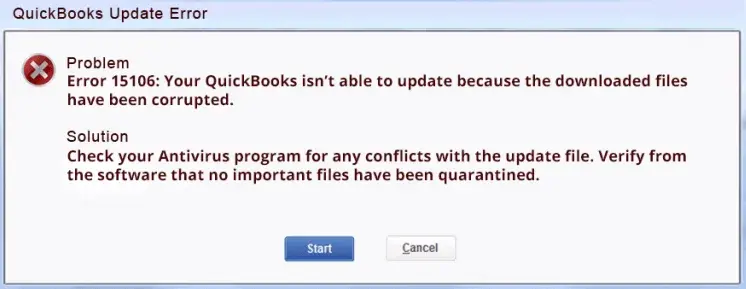
QuickBooks Error code 15106 pops up when users try to update their application or payroll. Upon the arrival of this error, an alert message flashes on the screen, i.e., “Error 15106: The update program can’t get opened.” However, any user indulges in any important task and encounters the same error again will get frustrated up to the next level. Still, there is no need to worry, as all the steps to troubleshoot this error are stated further in this post.
What Makes the Emergence of QuickBooks Error Code 15106?
Not a single reason is responsible for the 15106 error of QuickBooks. And we somehow managed to find how many reasons stand behind this error. So, here we list all the possible errors responsible for QuickBooks Error Code 15106. Look at the causes below to get the right path to fix the error smoothly.
- There might be a situation when QuickBooks users don’t have Windows administrative rights. As a result, they might face issues while installing the latest updates and end up with QuickBooks Error 15106.
- Sometimes, hindrances occur due to the presence of antivirus or anti-malware programs.
- Another reason could be a failure in installing QuickBooks, which requires additional components to complete the update process.
- You might confront this error when the users don’t possess enough Microsoft management permissions.
- At times, the Webroot antivirus on the system might consider the QuickBooks installer a potential threat. Hence, it stops or prevents its procedure on the windows, leading to the emergence of QuickBooks 15106 error.
- The window user’s account control setting is set to high, which eventually becomes the reason for this error.
What are the Major Symptoms of QuickBooks Payroll Error Code 15106?
When your system gets infected by the QuickBooks Payroll Error Code 15106, you may witness many impacts of it. And if you don’t know what happened when this error appeared, you should look at all the after-effects of this error.
- Your QuickBooks program starts freezing, crashing, or working slowly.
- On the occurrence of the QuickBooks Error Code 15106, you may experience the application becoming functionless. Unfortunately, you won’t be able to download the tools and components required to accomplish the upgrade task.
- Sometimes, the users may experience that their system begins to freeze or starts responding slowly.
- Users often fails to access the latest QuickBooks features and functions due to the interruption in the update process.
Top 4 Methods to Fix QuickBooks Update Error Code 15106
Anyone facing the QuickBooks Update Error Code 15106 can eliminate it easily with the help of the solutions explained below. Read each one carefully to get the best results and install the updates freely without encountering any issues.
1. Disable the User Account Control Settings
You can tackle this issue without any stress by turning off the user account control. But remember that the steps stated here might not work for different versions of Windows as each window is quite different.
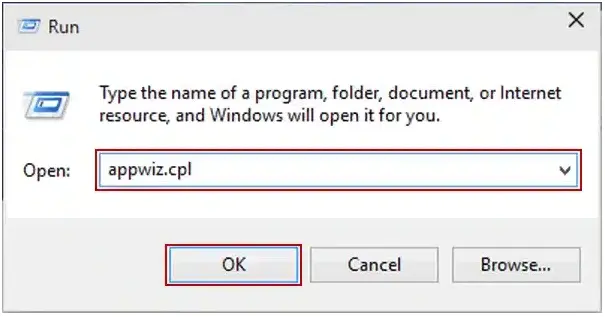
- Launch the Run dialog box by hitting the keys, i.e., Windows + R.
- Then go to the Control panel and tap the “OK” button.
- After this, hit the User Accounts option and choose the “Change user’s account control settings” option.
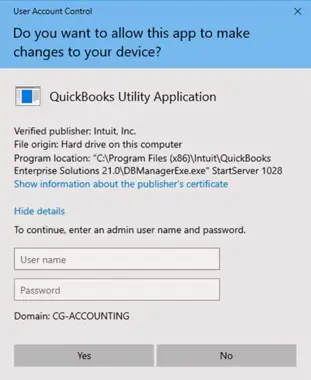
- If any option pops up on the screen, then without thinking of anything else, click on “Yes.”
- Once done with the above step, move the slider. You can set it off if you want never to see that option appearing on the screen. For that, click on Never Notify and then hit the “OK” tab to activate the emergence of this option.
- In contrast, if you wish to have that every time, select Always Notify and then choose “OK.”
- Ultimately, go for restarting the system.
2. Remove the Antivirus by Uninstalling it and Changing the Name of the Folder
- To start the process, you must first open the Task Manager on your screen. For that, hit the Ctrl + Shift + Esc keys to bring up the Task Manager.
- Afterwards, go to the Processes tab and look for the antivirus installed in your system.
- In the next step, locate and hit the highlighted End Process tab to complete the process.
If you are witnessing any issues while acting out the above process, then all of you must uninstall the antivirus.
Now, it’s time to change the name of the QuickBooks folder, and for that, follow the below steps in the same order they are given.
- To commence with, hit the Windows + E keys together to bring up the Windows Explorer window on your screen.
- After implementing the above step, please reach to the “C: – Program Files – Intuit – QuickBooks (Year) – Components (for 32 but users).”
- The last step also remains the same for 64-bit users, but the components may change based on the bits.
- Afterward, head to the downloadable folder and select the Rename option. Here, the XX denotes the year of the QuickBooks Software.
- In the end, make an addition of .OLD at the end of the folder name.
Read More:- Create QuickBooks Antivirus Exclusions
3. Login To Your System With Proper Administrative Credentials
First Step: When you have already logged in as a different user, implement the steps below.
- In the initial stage, navigate to the QuickBooks Desktop icon.
- Once you find the QuickBooks icon, right-click it and hit the Run As Administrator option.
- Thereon, fill in the credentials of the user in it.
- Afterwards, hit the OK button to log in as an administrator.
Second Step: Switch the account to log in as an admin
- In the first place, press the Windows key and then choose the Switch User option from the bottom right-side arrow.
- Succeedingly, enter the credentials of the admin to get into your account.
- Ultimately, you can find yourself that you switched from the user account to the admin account.
Learn more:- QuickBooks Payroll Error PS038
4. Install QuickBooks Smoothly in the Selective Startup Mode
- Compile all your data to form a backup of the same
- Do log in to the system in selective startup mode.
Note: Remember to focus your eyes on all other applications so they don’t produce any hindrances in the process. If it happens, switch to the selective startup mode. To do that:
- Primarily, open the Run window and add “msconfig” into the search area.
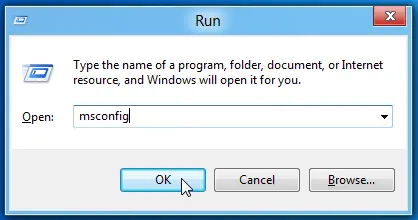
- After this, hit the OK button and then the General tab to proceed further.
- In the next step, move to the Selective Startup Mode and Load the system services.
- Thereon, you must go to the Services tab and navigate to the Hide All Microsoft Services.
- Verify that you have marked the “Hide all Microsoft Services” checkboxes and hit the Disable All option.
- Moreover, you may also select the “Check Windows installer” checkbox from the list of services.
- Remember to focus on the checkbox of Windows Installer from all the available lists of services.
- Finally, choose the option to restart to process everything from zero.
- Proceed further with the installation and install QuickBooks Desktop again.
- Normal Startup mode is the new spot where you need to switch.
The last thing that all of you need to do is to switch to the normal startup mode. For your convenience, all the steps to do the same are as follows:
- Start the process by opening the Run box and insert Misconfig into the search area. After all, this, click on the “OK” button.
- Select the option of Normal Startup and head to the General tab to click OK.
- The system configuration window will appear on the screen, then click the restart button.
Conclusion
So, it is all related to QuickBooks Error Code 15106. You can apply the above steps to get rid of this error easily. But if you can’t eradicate the error yourself, don’t take stress, as our BizBooksAdvice at +1-866-408-0444 tech-savvy professionals will give you a helping hand. They will offer you some useful suggestions to overcome the issue instantly.
FAQs
Ques 1: Can I Resolve QuickBooks Error Code 15106 by installing the digital certificate?
Ans. Sometimes, the users must end up with QuickBooks Error Code 15106 when the Digital Signature Certificate of Internet Explorer is inappropriate. It may happen when it is not registered. So, to fix the issue, apply the steps below.
- Look for the folder that contains the QBW32.exe file and then double-tap on the file.
- Navigate to the Properties menu and hover your cursor over the Digital Signature option.
- After this, look at whether you have chosen Intuit. inc from the list of options and move to Details.
- Thereon hit the Certificates > Install Certificates > Finish program.
Ques 2: What Pre-Measures Will Help You Deal with QuickBooks Error 15106?
Ans. Following are the prerequisites you must consider to fix the QuickBooks Error 15106.
- First, you must be well-connected with a good and uninterrupted internet connection.
- Look whether your antivirus program is creating conflicts while updating the software.
- You are accessing a valid QuickBooks payroll subscription.
Ques 3: What Would be the Impact of QuickBooks Error 15106 on your Workflow?
Ans. When users encounter QuickBooks Error 15106, they might face difficulty getting the latest payroll updates. The failure of updates could be caused due to poor internet connection, which results in delays in paying employees on time. Thus, it would hamper the productivity and overall company growth.
Ques 4: What Would Happen When the Tax Table is Not Updated With QuickBooks Version?
Ans. If the tax table is not updated according to the QuickBooks version, you may encounter QuickBooks Error 15106. You won’t get any issues while operating the QuickBooks account.
Ques 5: What Error Messages Appear on the Occurrence of QuickBooks Error 15106?
Ans. Every time the user strikes with QuickBooks Error 15106, the following error messages are displayed on the screen.
- “Error 15106: The update program cannot be opened.”
- “Error 15106: The update program is damaged.”
About The Author

Jonathan Browns
Jonathan Brown is a trained QuickBooks professional with 10 years of experience in the accounting sector. Moreover, he is passionate about helping businesses reduce the stress of managing accounts. Also, he is proficient in assisting entrepreneurs and small business owners to use QuickBooks and enhance their accounting experience.

QuickBooks Desktop, Payroll or Enterprise
Advanced Support for QuickBooks Desktop, Payroll & Enterprise Solutions
From payroll tax setup, direct deposit issues to Enterprise performance tuning and Desktop upgrades - our QuickBooks experts provide accurate and stepwise assistance. Get dependable support designed to minimize downtime and maximize efficiency.
Recent Posts
-
Here’s the Step-by-Step Guide For QuickBooks ETSY Integration
-
How to Migrate From QuickBooks Desktop to QuickBooks Online
-
QuickBooks Enterprise Latest Version (2026): Everything You Need to Know
-
How to Troubleshoot QuickBooks Error PS038 During an Update?
-
Troubleshooting QuickBooks TLS Security Portal Errors Instantly