How to Create a W-9 Form in QuickBooks | Fill Out, Print & More

- By Jonathan Browns
- Jan 23, 2026
- Taxation
- 7 min read
Do you want to gather the important details with the company or contractor with whom you wish to conduct business? Well, in that case, you need to fill out the Create a W-9 Form in QuickBooks , which carries all the necessary details required to issue a 1099. However, it is essential to fill in the details correctly; you may face penalties while filing taxes. With this guide’s help, you can create a W-9 in QuickBooks and print it easily.
What is Form W-9?
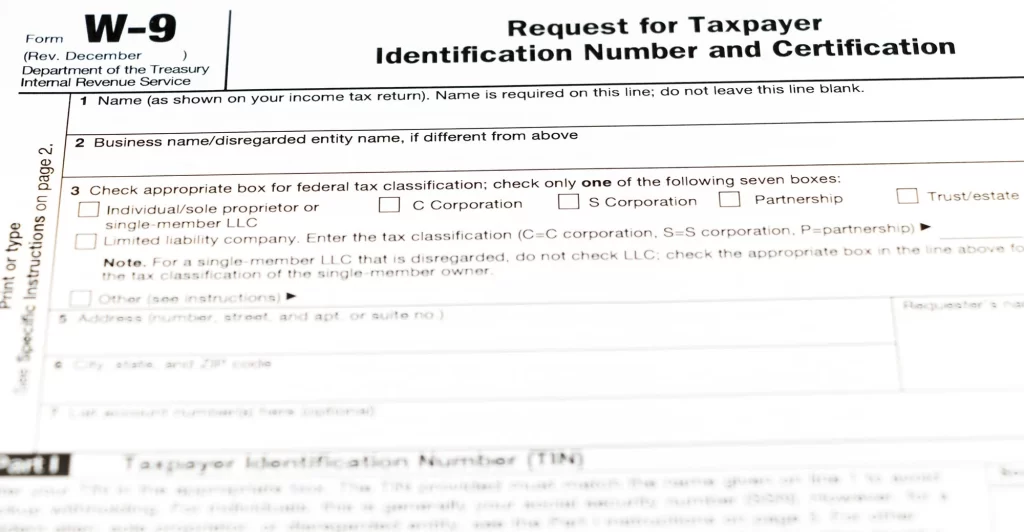
The Form W-9, also known as “Request for Taxpayer Identification Number and Certification,” is required by businesses to gather the details, including name, taxpayer identification number, and address, from U.S. individuals and entities with whom they conduct business. Most probably, the small businesses mainly use this form at the time of hiring the independent contractors or freelancers. However, the information that is needed to fill this form includes a Social Security Number (SSN) or Employer Identification Number (EIN), and the address.
Once all the details are covered in the W-9 form, the businesses can utilize all these details to create and issue the 1099 form. The Form W-9 is only accessed for collecting the information, and it isn’t sent to the IRS.
How to Fill Out a W-9 Form in QuickBooks Online?
Below, we have discussed the step-by-step instructions to fill out a W-9 form in QuickBooks Online.
Complete Your W-9 Form
If your employer or client accesses QuickBooks Online, then they can send you an invite to complete the Form W-9. Once the invite is sent, you can fill in the form directly via QuickBooks Money.
KeyTakeaways:
- Invite: You must ask the employer or client to send an invite to your registered email address.
- Account: In case you don’t have a QuickBooks Money Account, then you can generate a limited one, mainly for your tax forms. If you are an old user, then you can make sure that the invite is sent to your login email.
Complete Your W-9 Form
- Firstly, you must launch the invite email and choose the link.
- In case you previously have a QuickBooks Money Account, tap on the Sign In tab. Otherwise, carry on with the steps instructed to generate a limited QuickBooks Money account. This account has limited features, which will let you complete your W-9 form, submit it, and then view your 1099 form.
- After that, move to the Incoming Forms tab.
- Thereon, choose the Create W-9 Forms (if starting a new one). Otherwise, go with the Manage W-9 form if you previously have a W-9 form.
- Finally, perform the steps as instructed to complete and then submit the W-9 form. Also, you can resend your updated W-9 form.
With this, your employer has all the details they require to fill out the 1099 form.
Steps to Update Your W-9 Form
You have to complete your W-9 form once and then sign it. After this, you can send your existing W-9 form when you receive any other invite from someone else. In case you want to make any changes in the form, change it before your client or employer submits the 1099 to the IRS.
- Initially, you must log in to your QuickBooks Money account. Herein, make sure that you use the same account as you use to complete your W-9 form.
- Now, move to the Incoming Forms tab and choose the Create W-9 (if generating a new one). Otherwise, go with the Manage W-9 if you already have a W-9.
- Furthermore, use the steps to complete and then submit your W-9 form. Otherwise, you must resend your updated W-9 forms.
Important Tip: The details will eventually update for your employer or client in QBO. You can also directly talk to them regarding the latest changes made.
Read more:- How to E-File Form 941 with QuickBooks
How to Upload a W-9 in QuickBooks Online Smoothly?
Before uploading the W-9 form in QuickBooks Online, you must consider a few factors.
- All you require is to complete the W-9 Form from your contractor or vendor saved on your system.
- The file types supported are PDF, JPG, and PNG.
Steps to Upload W-9 Form
Herein, we have described the steps regarding how to enter a W-9 in QuickBooks Online.
- Initially, move to All Apps > Expenses & Bills > 1099s option.
- After this, pick the Gather recipient tax info.
- As a result, you will notice a list of vendors that we suggest you provide a 1099 form for, and which ones are missing to complete the 1099 form.
- Choose the Import W-9s option and click the Select File option. Otherwise, you can also drag or drop your W-9 forms. You have the option to upload up to 10 W-9 forms at one time.
- Thereon, hit the Continue option and go through the details. You will see that the data highlighted in green will eventually be updated.
- Cross-verify the details and click the Edit menu to make the necessary changes.
- Now, tap on the Save option and once everything is set, opt for Done with list.
What happens after you upload?
Once everything seems right and you save, QuickBooks will replace the details in your contractor’s profiles using these new details.
Fixing upload errors
Users often receive the error message that says “No W-9 Found”, due to two different reasons, i.e.,
- It may happen because of the formatting, handwriting, or other clarity issues.
- Another reason may be that the contractor doesn’t exist in QuickBooks. Herein, you must ensure that the contractor is tagged to monitor 1099 forms in their profile.
Learn More:- How to File the Form 940 in QuickBooks
How to Add a W9 to a Contractor in QuickBooks Online?
Whenever the contractor makes a decision to send the W09 form manually after getting an invitation to add the details, you can add the details on your own. For that, you must perform the step-by-step instructions outlined below.
- Initially, move to Payroll and then choose the Contractors option.
- When you are in the Personal Details column, pick the Wait for info option.
- Afterwards, opt for the Contractor Type between an Individual or a Business.
- Now, complete the required details and hit the Save option.
How to Retrieve Your W-9s in QuickBooks Online?
Wondering how to find a W9 in QuickBooks Online? Then you must perform the following steps.
First Step: Determine Whose W-9 Details Are Missing
To identify whose W-9 form in QuickBooks is missing, browse to the expenses > contractors or Payroll > Contractors option.
- Green Checkbox: W-9 details are saved in QBO
- Gray Clock: The contractor was invited, but didn’t complete their information.
- Orange Checkbox: The contractor wasn’t invited to complete the details.
If someone is missing from this list
You must move to the Vendors list and mark the “1099” column to identify if they have a checkbox. If you don’t have one, tap on edit to verify the “track for 1099” checkbox. Like this, only you can reflect them in the contractor list.
Second Step: Send the W-9 Invitations or Reminders
For all those contractors who have a green check mark, they must tap on Finish setup and pay option to send them a reminder with a single click. Otherwise, you can also mention their email address to send them an invite.
Third Step: You Are All Set!
Once you are all set to file the 1099s form, you will get the status indicating “W-9 ready”.
Note: If you include all the details manually, such as tax details, address, and name, then the checkmark will show the “green” status. As a result, it will reflect that you have sufficient information to prepare a 1099 when required.
Furthermore, to download the W-9 form, tap on the contractor profile and then move to documents.
How do I print my own W-9 to send to a contractor?
The printing of the W-9 form in the QBO application is currently not possible. However, you can only fill out the W-9 form by downloading a PDF copy to verify that all the information is provided accurately after filling out the Form W-9 manually for printing.
Conclusion
So, we have come to the end of this post, and we hope that now you can easily create a W-9 in QuickBooks. Also, it will let you print the form without any interruption. Furthermore, if you still require any additional help, then communicate with our BizBooksAdvice professionals for help.
Frequently Asked Questions (FAQ’s):-
Question 1: What is the difference between a 1099 and a W-9 form?
Ans. The W-9 is a form to provide information to the business they work for, and Form 1099 is used to report the contractor’s yearly earnings.
Question 2: How do I edit a W-9 on QuickBooks?
Ans. To edit the W-9 on QuickBooks, move to Expenses and click the Vendors tab. After this, start searching for your name and hit the Edit menu. Later on, provide the required details and tap on the Save option.
Question 3: How to send a W-9 form electronically?
Ans. Follow the steps below to send the W-9 form electronically:
- Launch the W09 form in Adobe Reader and then complete the required fields.
- Now, access the Fill & Sign-In feature and insert your signature.
- After this, apply and position your signature.
- At last, you must save your signed form.
Question 4: Who needs to fill out a W-9 form?
Ans. Majorly, the self-employed individuals who offer services to businesses must promptly fill out a W-9 form. It might comprise;
- Freelancers
- Single-member LLCs
- Independent Contractors
- Anyone who is getting at least $600 in non-employee compensation from a business in a tax year.
- Sole proprietors
Question 5: What happens if a contractor refuses to fill out a W-9 form?
Ans. In case a contractor disagrees to fill out a W-9 form, then you must initiate the backup withholding on their payments instantly. In short, you have to hold back 24% of every payment you make to them and send money back to the IRS.
About The Author

Jonathan Browns
Jonathan Brown is a trained QuickBooks professional with 10 years of experience in the accounting sector. Moreover, he is passionate about helping businesses reduce the stress of managing accounts. Also, he is proficient in assisting entrepreneurs and small business owners to use QuickBooks and enhance their accounting experience.

QuickBooks Desktop, Payroll or Enterprise
Advanced Support for QuickBooks Desktop, Payroll & Enterprise Solutions
From payroll tax setup, direct deposit issues to Enterprise performance tuning and Desktop upgrades - our QuickBooks experts provide accurate and stepwise assistance. Get dependable support designed to minimize downtime and maximize efficiency.
Recent Posts
-
QuickBooks Bookkeeping: The Practical Way to Keep Your Books in Order
-
QuickBooks Merchant Services: Everything You Need to Know Before You Sign Up
-
QuickBooks Payroll Assisted: Everything You Need to Know
-
How to Contact QuickBooks Online Customer Service Team 2026
-
QuickBooks Online Login: Sign in to Access your QB account