
Fix QuickBooks Error 1334: Complete Guide
QuickBooks Error 1334 usually occurs while installing, updating, repairing, or uninstalling QuickBoo......
Fix QuickBooks Error 40003 When Updating Payroll Tax Table
QuickBooks Error 40003 usually appears when updating payroll tax tables or sending payroll data in Q......
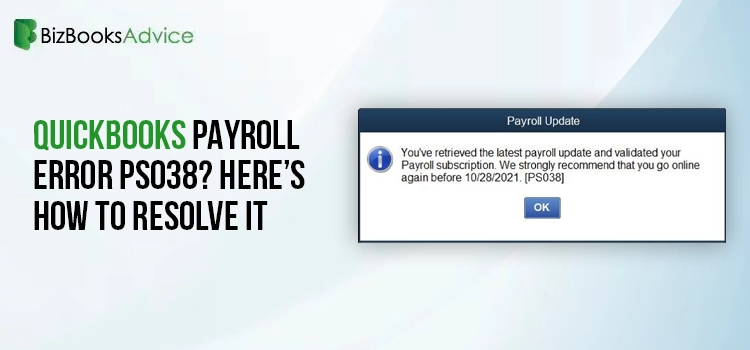
QuickBooks Error PS038: Stuck Paychecks/Can’t Update Payroll
You might encounter issues when running payroll or updating tax tables. Often, this could coincide w......
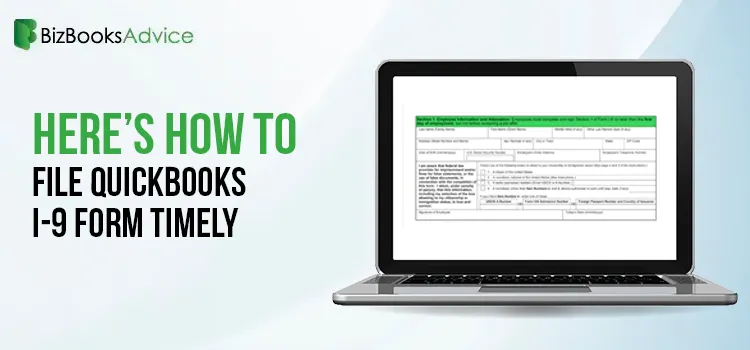
Everything You Must Know About QuickBooks I-9 Form
The I-9, also known as the Employment Eligibility Verification form, is used by every employer when ......
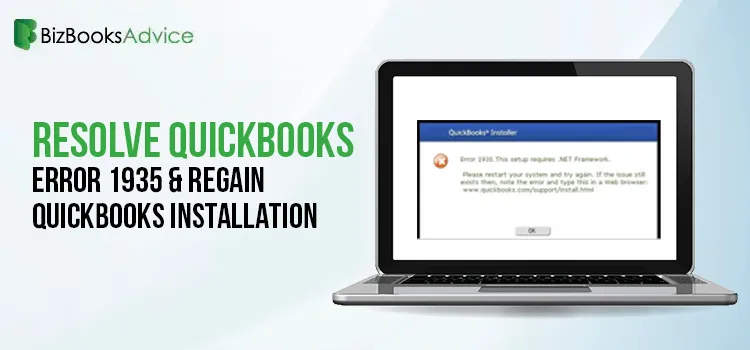
Resolve QuickBooks Error 1935 & Regain QB Installation
Is QuickBooks Error 1935 is bothering you during the installation of the QuickBooks Desktop? This is......
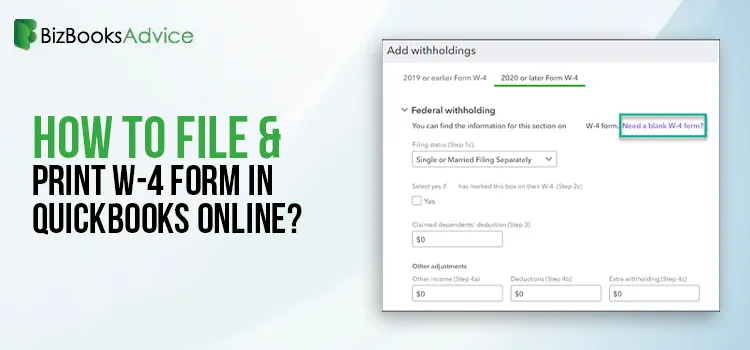
How to File & Print W-4 Form in QuickBooks Online?
Have you started a new job recently, or is there any update in your payout/income? If that’s so, t......
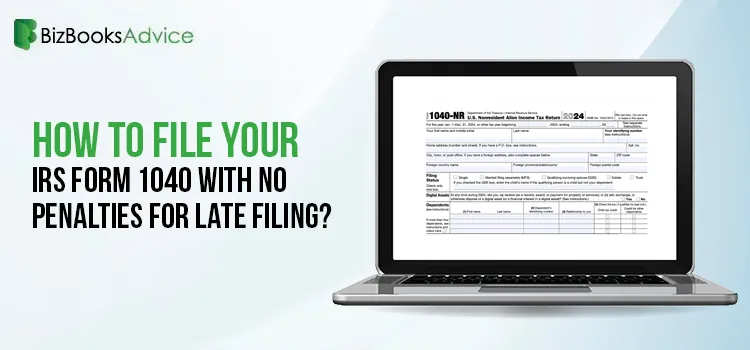
How to File IRS Form 1040 Smoothly Using QuickBooks
Every year, when the tax season arrives, it comes with a lot of responsibility to accurately file ta......
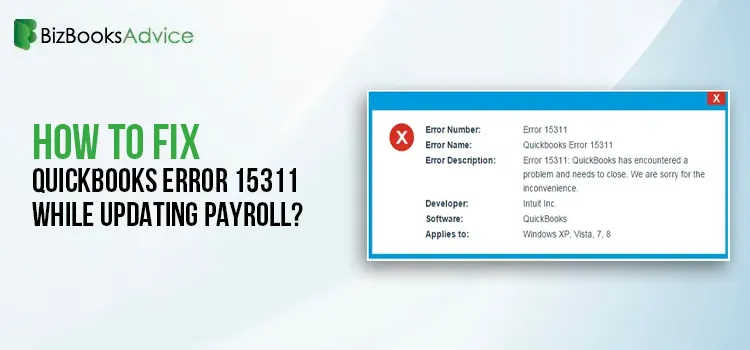
QuickBooks Error 15311: How to Fix Payroll & Desktop Update Issues
Are you stuck with QuickBooks Error 15311 and unable to download the latest payroll updates? This er......
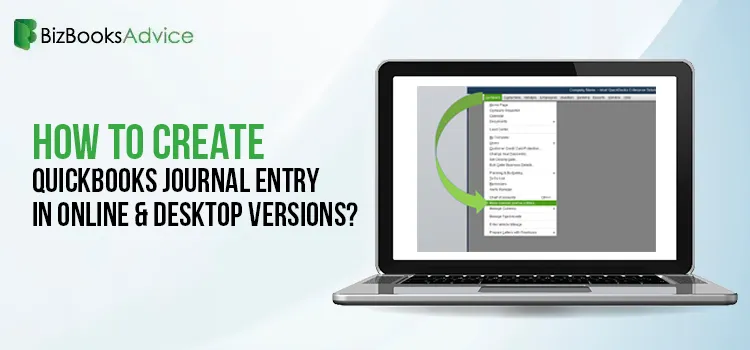
QuickBooks Journal Entry: How to Create, Delete, or Manage It?
Journal entries is crucial part of accounting that help businesses record transactions, monitor debi......