Intuit Workforce Login: Get Your Employee Details & More

- By Jonathan Browns
- Apr 01, 2026
- Accounting
- 7 min read
Intuit Workforce Login is a one-stop mobile and web portal that provides access to all employee details. It may include pay stubs, time off, withholding, taxes, and year-to-date pay. Moreover, you can download and print the T4s using QuickBooks Workforce.
In short, the QuickBooks Workforce login portal makes it easy for employees to check their payroll information online. Whether you need to sign in for the first time or access your existing Intuit QuickBooks Workforce account, this guide walks you through each step from logging in to tracking and submitting your work hours.
Did you get stuck while trying to access the Intuit Workforce login account? Call Us : +1-866-408-0444 and connect with our QB professionals for a reliable solution.
What Do You Understand By QuickBooks Workforce?
QuickBooks Workforce is basically a mobile and web portal that provides both employees’ self-service features, along with time-tracking tools. Moreover, it is a portal where employees can view their pay stubs, W-2s, and update their personal info. Additionally, the employees can also keep track of their time spent on projects or shifts by clocking in and out.
Read More- QuickBooks Payroll Update Not Working
How to access QuickBooks Workforce Intuit Login Portal?
Before viewing your paychecks and T-4, it’s essential that your employer accepts the Workforce invite. The invite is only valid for thirty days from the time it is sent. If the invitation exceeds 30 days, you’ll need to request a new one. Use the steps below to access QuickBooks Workforce Intuit Login:
- Look for an email from do_not_reply@intuit.com with your employer’s name in the subject line.
- If you don’t see the invite, check your spam folder. If it’s not there, inform your employer that they may have used the wrong email.
- Open your email and click on the Accept Invite tab to accept the invitation.
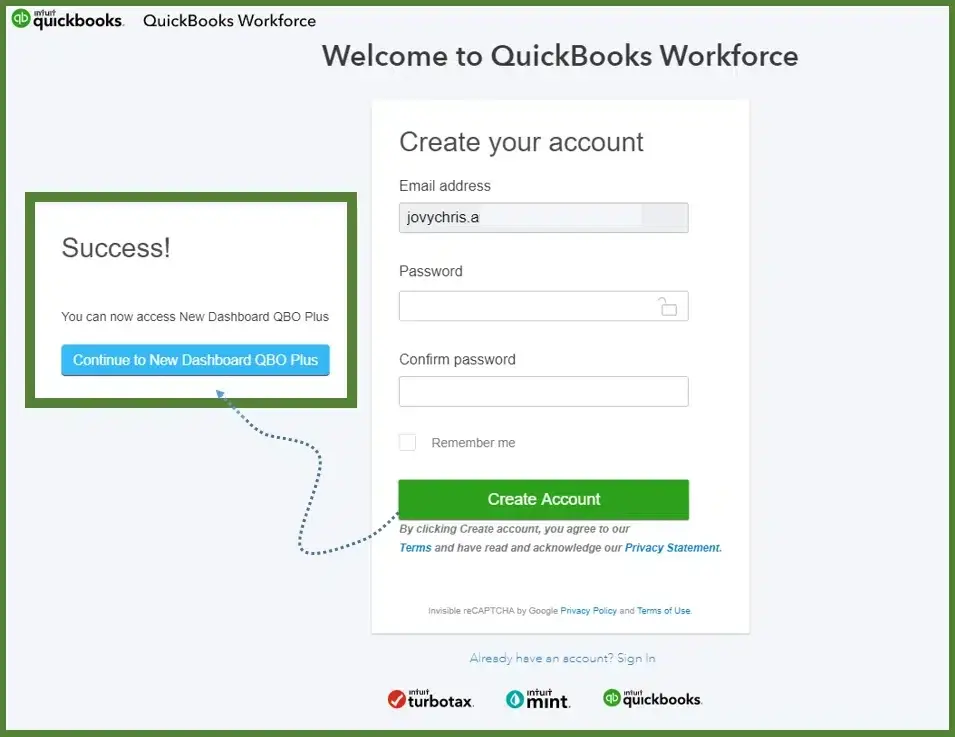
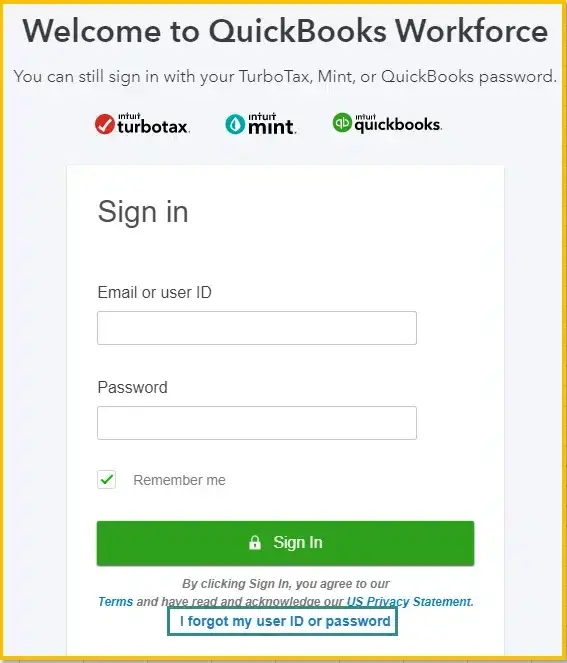
- Create an Intuit account with your email and password. If you already have an Intuit account, such as an old QuickBooks Workforce or TurboTax account, log in using the same credentials.
- Once submitted, your information is saved, and your employer will be able to view it. If you need to make any changes, inform your employer.
For desktop users, QuickBooks Time (formerly TSheets) integrates with QuickBooks Online or QuickBooks Desktop, offering advanced features like geofencing, GPS tracking, and job or project tracking. Users can schedule tasks, projects, shifts, and more based on their needs.
Note: QuickBooks Workforce is the mobile version of QuickBooks Time Login. Both serve the same purpose but are optimized for different operating systems—mobile and desktop—with advanced features available depending on the platform.
What Should You Do If Intuit QuickBooks Workforce Login Fails?
If you are having trouble accessing QuickBooks Workforce login portal, here are some solutions you can try:
- If you previously had a QuickBooks Workforce account, accept the invitation from the new employer. All you need is the same email address you used for the existing Workforce Intuit Employee login account.
- If you already have a QBO account, you should use a different email address for your QuickBooks Workforce account. It’s best to use your work email for QBO and your personal email for Workforce.
- Ask your employer to resend your invite. Be sure to agree to the latest email invitation.
- If you’re accessing another Intuit product, such as TurboTax, or if you’ve had a Workforce account before, you’ll see a prompt to add login details. If you haven’t provided your employer with the required details, check the email address assigned by your employer.
How to Setup & Access the QuickBooks Workforce In Easy Steps?
Here’s how to set up and access QuickBooks Workforce.
A. Enable the Notifications For Pay Stubs
Employees will receive an email reminder whenever a new stub is available.
- Go to the workforce.intuit.com login page and click on the Settings icon.
- Select the Email Notification option.
- Check the box next to Send me an email when new pay stubs are available.
- Hit Save.
Important Tip: If the page fails to load, check your internet connection. You can also try clearing your browser cache or accessing the page from another browser or device.
B. Check Or Edit Your Info Anytime
To check or update your details on QuickBooks Workforce, follow these steps.
1. View Pay Stubs, Time Off, and Year-To-Date Pay
View or Download Your Pay Stubs
You can view or download your pay stubs using the QuickBooks Workforce app or web browser. Here’s how:
QuickBooks Workforce App:
- Login to the Workforce app and select Money.
- Click View Details to see or download your latest pay stub.
- To view other pay stubs, select All Paychecks and pick the pay stub you wnat to view.
QuickBooks Workforce Web Browser:
- Visit the QuickBooks Employee Login portal at workforce.intuit.com and enter your login credentials.
- Choose Paychecks and select the date range. You can view multiple paychecks up to a year at a time.
- To download a pay stub, click the Download icon next to the desired pay stub, or select the pay stub to open and download it in PDF form.
- You can also download all pay stubs by clicking Download All.
Turn on Notifications For New Pay Stubs
You will receive a reminder whenever the new pay stub is available.
QuickBooks Workforce App
- Log in to your app and click More, then go to Settings.
- Select Notifications.
QuickBooks Workforce Web Browser
- Log in at workforce.intuit.com.
- Click on the Settings icon and then choose Email Notification.
How to Check your time off and year-to-date pay?
Using the Paycheques display you can get more details which is important for you.
QuickBooks Workforce App
- Available time off: You must choose the Time Off (or More and then click Time Off to review your vacation, sick, and other available time-off balances.
- Year-To-Date pay: Herein, you must move to the Money option to look for the year-to-date gross and net pay, withholdings, and deductions.
- 401 (k) or other deduction amounts: To review all these details, you must check your pay stubs.
QuickBooks Workforce Web Browser
- Available time off: Look for your vacation, sick, as well as available time-off balances.
- Year-To-Date Pay: Learn more about the year-to-date gross and net pay, withholdings, and deductions at a glance.
- 401 (k) or other tax deductions: You can grab all this information from your pay stubs.
2. View and Print Your T4s
Herein, we have provided you with the detailed procedure to get your T-4s/Releve 1s slips from the tax forms.
QuickBooks Workforce App
- Click on the Taxes or the More option and choose the T-4s/RL-1s option.
- After this, select the Download menu.
- Now, head to the T4/RL-1 that you wish to view or print.
QuickBooks Workforce Web Browser
- Go to the workforce.intuit.com login page using the valid sign-in credentials.
- Choose the Documents option and click the Tax Forms or Shared Documents tab.
- After this, tap on the T4/RL-1 slip or document that you wish to view or download.
Review and Print Your W-2 Form
Once your employer has invited you to QuickBooks Workforce and you’ve set up your account, you can print W-2 forms. You will also have the option to review other documents with your employer.
Obtain your W-2s & other documents
Employees can access W-2s for the current year and the previous two years by January 31st. If you haven’t received your W-2 form by that date, contact your employer.
For any further security, it is compulsory to verify your phone number or your personal details before reviewing W-2s.
QuickBooks Workforce App
- Begin the process by choosing the Taxes or More icon.
- After this, opt for the W-2s and then choose the Download option.
- Now, choose the W-2 form that you wish to view or print.
QuickBooks Workforce Web Browser
- Begin the process by logging in to the workforce.intuit.com.
- After this, head to the Documents menu and then click the W-2s or Shared Documents.
- Now, pick the W-2 copy or document that you wish to view or download. Later on, you can print your W-2 form.
Include or edit your Personal Details (If available)
If you have already hired by the employer then you will get an invitation to add your personal details online via QuickBooks Workforce Login. However, if you wish to make certain modifications in your personal details, you can also do the same in your Workforce account.
Add Your Personal Details
- Look for the email invite received from do_not_reply@intuit.com, having employer’s name in the subject line.
- Select the Accept Invite option and follow the steps given on the screen for the setup. Then, you will be prompted for the following details:
- Personal Details:- Provide your complete name, address, and other personal details.
- Employment Eligibility:– It is not valid for all payroll subscriptions. If your employer opts in, you can easily verify your employment eligibility for completing Form I-9. This form is basically issued by the US Citizenship and is used to verify your identity and authorization for working in the US.
- Direct Deposit Info: Herein, if your employer opts in, provide your direct deposit banking details.
- W-4 Info: In this section, insert the W-4 details to compute taxes accurately for federal and state taxes.
- After the submission, details will be saved and can be easily accessible by your employer.
View Your Personal Details
- To begin with, log in to the workforce.intuit.com.
- After this, browse to the Profile menu.
- Now, herein, you can view your:
- Name
- Address
- Birth date
- Gender
- Federal and state tax withholding info
- Banking info (If your employer opts in.)
Change Your Personal Details
The employees can make changes to the following info:
- Name
- Address (if it’s in the same state)
- Birth date
- Gender
- Federal and state tax withholding info
- Banking info (If your employer opts in.)
Users can also upload profile pictures:
- Both employers and employees have the option to update the picture.
- You can save only one picture and it will override previously uploaded pictures.
- Employers have the option to enable or disable the ability to upload photos on the employee side
- The content of the photo is not monitored.
In case the employee is transferred to a new state, then it is essential for the employee to modify their bank account or Social Security number, and contact their employer.
Furthermore, to get any assistance regarding the filling out of your tax withholding info, it’s best to connect with a tax expert. This is so because your employer and Intuit can’t provide tax advice or help filling out the form.
View or change your info:
- Initially, you must log in to your workforce.intuit.com.
- Afterwards, choose the Profile menu and click Edit on Personal info or Tax withholding.
- Thereon, you must verify your identity via text message to the phone number on file.
- Now, do the necessary changes to your information. If you’re making changes to your tax info, it is necessary to include your digital signature. Doing so will generate a new W-4 form for your employer.
- When all the necessary changes are done, hit the Save or Confirm option.
- At last, you will see that your employer will receive an email regarding the changes. Also, you can review the changes in their payroll product.
How to Track & Submit Time on QuickBooks Workforce Easily?
If you wish to track and then submit the time on QuickBooks Workforce, then carry on with the instructions outlined below.
Intuit Workforce Time Clock Login
- Launch the QuickBooks Workforce account and login to the account if required.
- Choose the Track Time and then click on Time Clock option.
- After this, pick your job or customer below the Jon or Customer section.
- You can mark as favorite the most used jobs by clicking the Star icon beside the job. Later on, opt for the Favorites (#) tab for easy access.
- In case the addresses are linked with the job, then you can check out the job nearby your location below the Nearby at the top. If it’s already switched on, you have to turn on the location services on your device to access this feature.
- When required, insert any other necessary fields, say Notes.
- Hit the Clock In tab and your timer will start computing your timings.
Steps to Clock Out
- Once you have completed your working hours, choose the Track Time, and click the Time Clock option.
- After this, you must opt for the Clock Out option.
- If any fields are not previously filled, the app will ask you to complete them. After providing all the details, hit the Save and clock out option.
Switch Jobs or Customers
- For switching to another job or customer, click on the Track Time and then the Time Clock option.
- Choose the Switch option and pick up a recently worked job or customer. Otherwise, you must opt for the Work on something else option.
- Now, pick up a new job or customer from the list and then complete other necessary fields.
- Eventually, your time on the new job or customer will automatically start.
Take a Break
- Head to the Track Time and then hit the Time Clock option.
- Afterwards, opt for Break and then pick your Break from the list.
- When required, include the fields you need. Then, click the Save and clock out option.
- Now, when the break is over, hit the End Break option.
Steps to Alter or Delete Your Timesheets
Note: In case you forget to clock in or out, you can make the adjustments only if your admin has granted you permission.
- Browse to the Track Time and then choose the Timesheets option.
- Choose the timesheet you want to edit or delete.
- For editing, you need to make the necessary changes, then save.
- On the other end, to delete, tap on More options More_QBTime_US_Ext_052223.png, then click Delete timesheet, and choose Delete to confirm.
Submission of Timings
Important Tip: Once the timesheet is submitted you can’t make changes to the timings unless your manager or admin rejects it. However, to check and submit the timesheets, it is essential that your admin has turned on that feature.
- Firstly, tap on the Track Time and then click the Timesheets option.
- Choose the More Options (…) and then opt for the Submit Time option.
- Now, choose the dates for the submission and tap on the Submit tab.
- At last, for the confirmation, choose the Submit option again.
Conclusion
We hope that now this blog have provided you clear insights to access Intuit Workforce login account and to get the accurate employee details. Thus, it also helps you in tracking the clock in, clock out, editing and then submitting of the timesheets. In case you get stuck while using this application, feel free to get help from our BizBooksAdvice experts. They are always there to guide you throughout the entire login process which will help reduce your time spent on managing payroll.
Frequently Asked Questions (FAQ’s)
Question 1: What can I do to update the email address from inside QuickBooks Workforce?
Ans. Use these steps to update the email address from inside QuickBooks.
- Log in to your QuickBooks Workforce, hit the Gear icon, and click Account Settings.
- Click the Edit option given next to Email Address and then add your new email address.
- Furthermore, give the confirmation for your current password.
- At last, hit the Save option to store changes.
Question 2: Is QuickBooks Workforce free?
Ans. Yes, for the users with the QuickBooks Payroll or QuickBooks Time subscription, the QuickBooks Workforce is provided to the employees absolutely free.
Question 3: What is the difference between the QuickBooks Workforce portal and the app?
Ans. With the help of the QuickBooks Workforce portal, you can submit pay preferences, personal, and tax info, so you can quickly add them to your payroll. Whereas, using the QuickBooks Workforce app, employees and contractors can also clock in and out, manage time off, edit timesheets, and more.
Question 4: Can my employees still use QuickBooks Workforce if I cancel my payroll subscription?
Ans. Your employees can get access to the payroll details for up to 12 months after the cancellation of the QuickBooks payroll subscription. After this, the access will not be available any longer, so it is essential to inform your employees about printing.
Question 5: What is the use of a Social Security Number in QuickBooks Workforce?
Ans. Social Security Number contractors can also clock in and out, manage time off, edit timesheets, and more. Moreover, this number is basically required for employment.
About The Author

Jonathan Browns
Jonathan Brown is a trained QuickBooks professional with 10 years of experience in the accounting sector. Moreover, he is passionate about helping businesses reduce the stress of managing accounts. Also, he is proficient in assisting entrepreneurs and small business owners to use QuickBooks and enhance their accounting experience.

QuickBooks Desktop, Payroll or Enterprise
Advanced Support for QuickBooks Desktop, Payroll & Enterprise Solutions
From payroll tax setup, direct deposit issues to Enterprise performance tuning and Desktop upgrades - our QuickBooks experts provide accurate and stepwise assistance. Get dependable support designed to minimize downtime and maximize efficiency.
Recent Posts
-
How to Contact QuickBooks Online Customer Service Team 2026
-
QuickBooks Online Login: Sign in to Access your QB account
-
QuickBooks Desktop Enterprise: Features, Pricing, and How to Install and Set Up
-
How to Copy and Paste Multiple Lines in QuickBooks Online: Step-by-Step Guide
-
How to Fix QuickBooks Error 1920 : QB Database Not Working