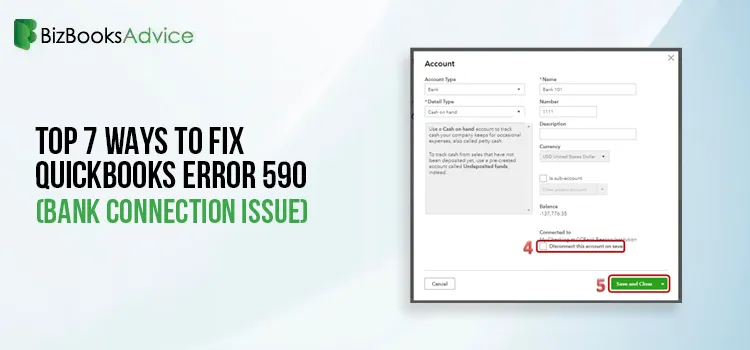
Top 7 Ways to Fix QuickBooks Error 590 (Bank Connection Issue)
Facing the Banking errors in QuickBooks Online can be frustrating for users, as it restricts them fr......
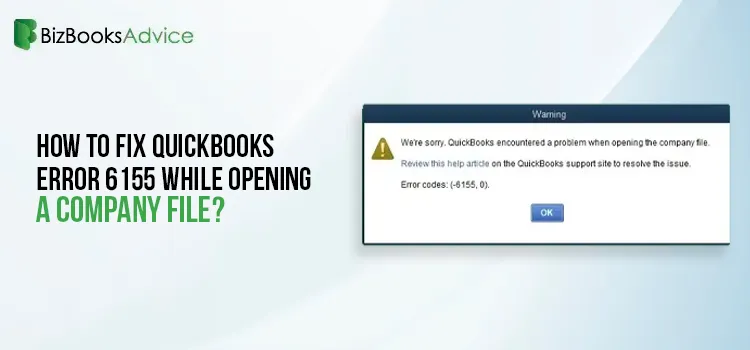
How to Fix QuickBooks Error 6155 While Opening a Company File?
At times, users get frustrated when they face trouble while opening their company file, and suddenly......
How to Eliminate QuickBooks Error 102 (Maintenance or Server Issues)?
Are you stuck with QuickBooks Error 102 while downloading the bank transactions? Well, this issue ma......
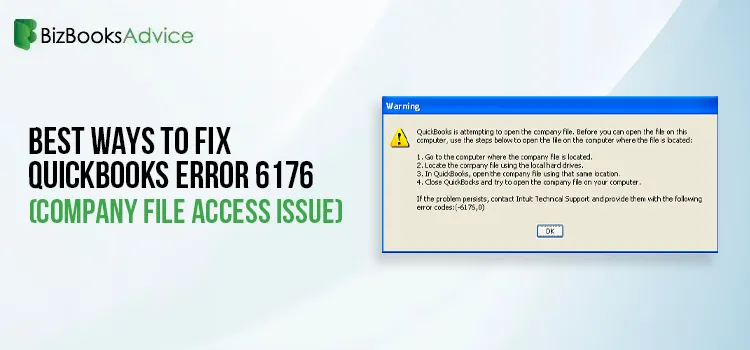
Best Ways To Fix QuickBooks Error 6176 (Company File Access Issue)
The company file plays a major role as it contains the crucial details regarding the organization. B......
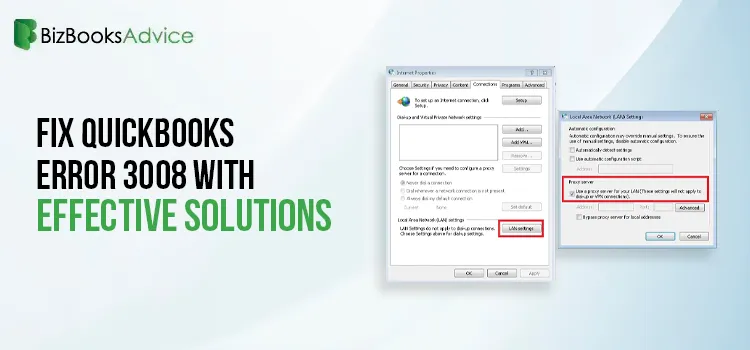
How to Fix QuickBooks Error 3008 With Effective Solutions
QuickBooks Error 3008 is related to a failed secure connection, and it may appear while trying to do......
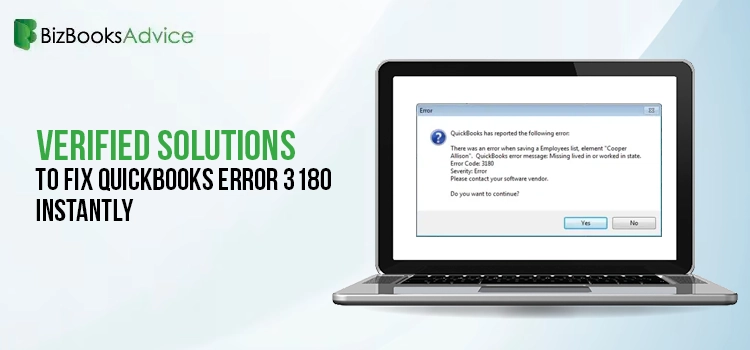
Trying to Fix QuickBooks Error 3180? Use these Top Methods
Users often experience QuickBooks Error 3180 when the QuickBooks Desktop or QuickBooks Desktop POS c......
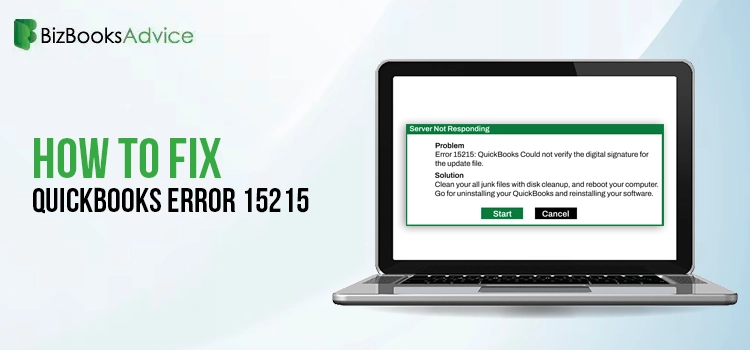
Fix QuickBooks Error 15215 When Updating | Top 9 Methods
Failure to install a maintenance release in QuickBooks or update payroll services can occur in sever......
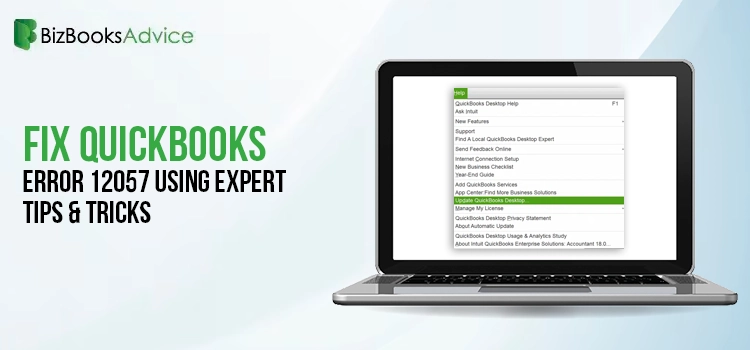
Fix QuickBooks Error 12057 Using Expert Tips & Tricks
Are you struggling with QuickBooks Error 12057 while downloading payroll or QuickBooks Desktop updat......

QuickBooks Error 1311: 9 Top-Rated Solutions to Fix it
You must be dealing with the QuickBooks Error 1311, and you have reached the right page to get the s......