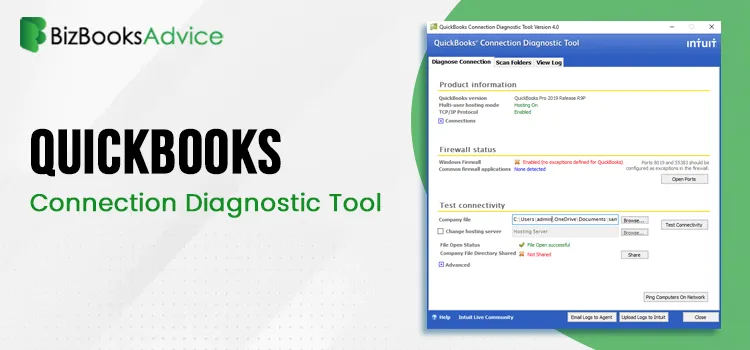
QuickBooks Connection Diagnostic Tool for Multi-User Issues
QuickBooks users often encounter various issues, such as company file problems, network connectivity......
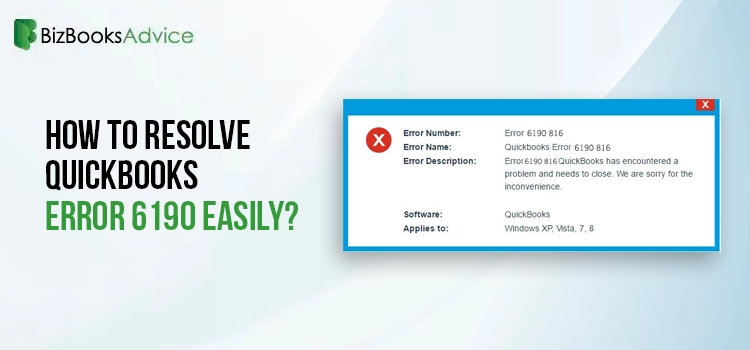
Alert! QuickBooks Error 6190 – Causes & Troubleshooting Tips
The recurrence of technical errors while using QuickBooks could be frustrating. Isn’t it? One of t......

Is QuickBooks Desktop 2025 Going to Launch? Get Complete Details
Nowadays, the only question that is creating suspense in the user’s mind is whether QuickBooks Des......
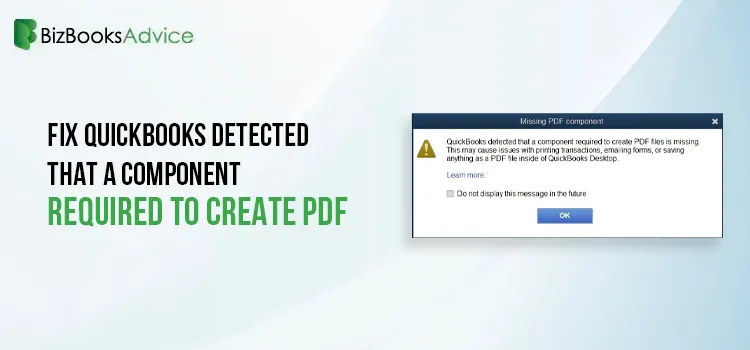
QuickBooks Detected that a Component Required to Create PDF – Here’s What to do Now
Sometimes, QuickBooks users experience difficulties when attempting to convert their files to PDFs o......
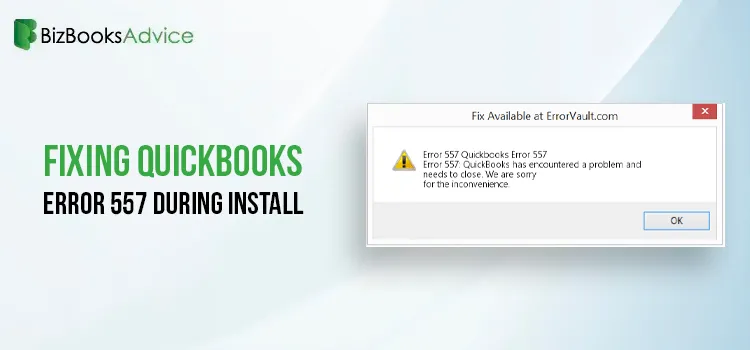
Fix QuickBooks Error 557 (Payroll Update Error)
Payroll is the most effective business activity, and it consumes a lot of time and effort as it requ......
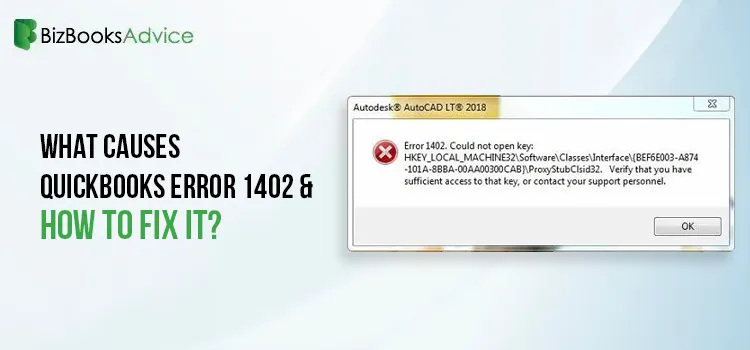
Resolve QuickBooks Error 1402 – Windows & Registry Fixes
Finding it difficult to install the QuickBooks Desktop and struggling with QuickBooks Error 1402? ......

How to Resolve QuickBooks Error 400 Bad Request
Have you been stuck with the QuickBooks Error 400 while linking with the bank account or adding empl......
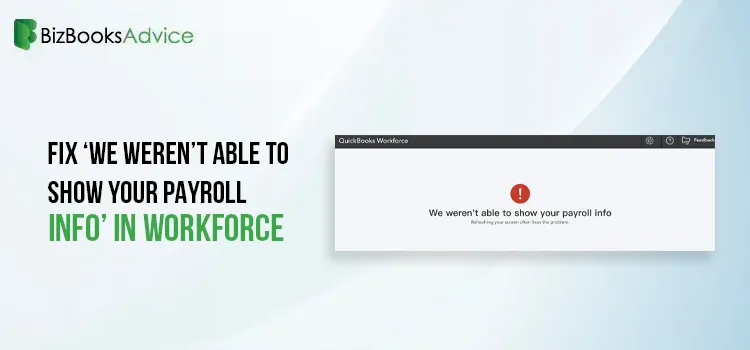
Fix ‘We Weren’t Able to Show Your Payroll Info’ in Workforce
QuickBooks Workforce, an integrated feature of QuickBooks Online, and also works with Desktop, depen......
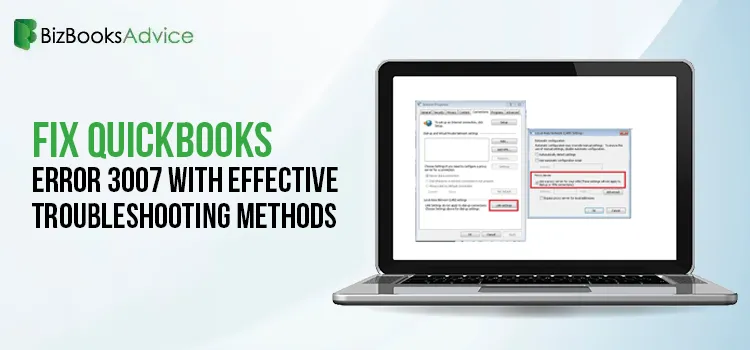
Fix QuickBooks Error 3007 With Effective Troubleshooting Methods
At times, users get stuck upon QuickBooks Error 3007 while attempting to validate the data present w......