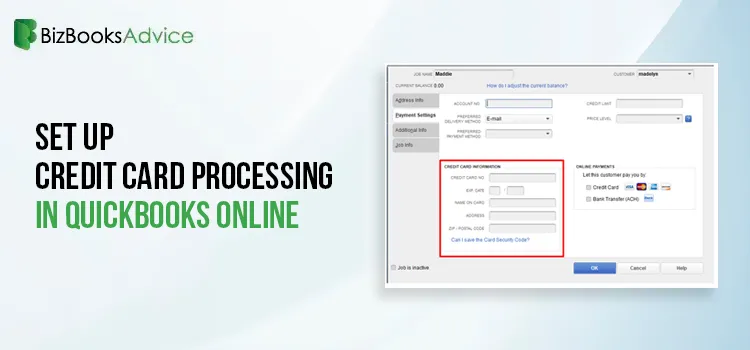
Set Up Credit Card Processing in QuickBooks Online
No business can grow if their customers are facing payment issues. In such a situation, credit card ......
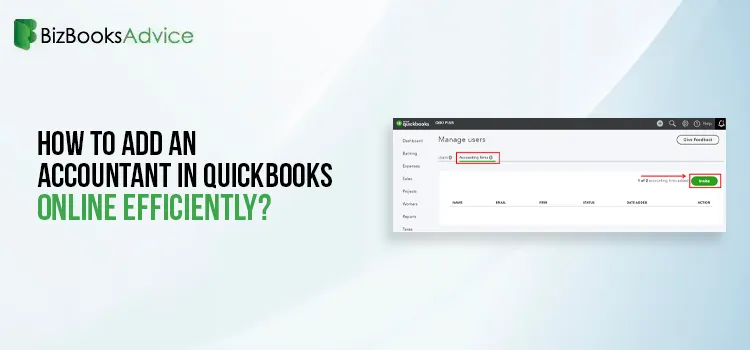
How to Add an Accountant in QuickBooks Online Efficiently?
QuickBooks Online is cloud-based financial software enables you to manage your business finances any......
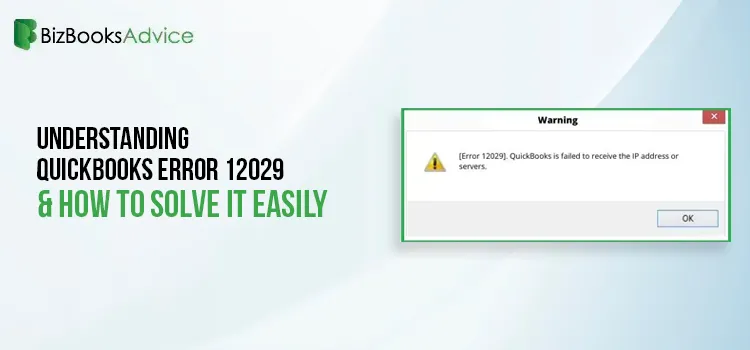
Understanding QuickBooks Error 12029 & How To Solve It Easily
Users often face QuickBooks Error 12029 when there is a network timeout or the software can’t conn......
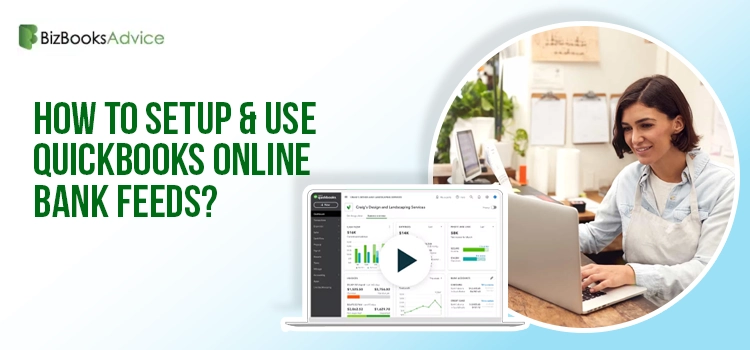
How to Setup & Use QuickBooks Online Bank Feeds?
QuickBooks bank feeds make the bookkeeping easier by automatically connecting your bank or credit ca......
Elevate Your Business Efficiency with QuickBooks Payroll Software
Business owners often find the task of processing employees’ payroll a bit challenging and tim......
Learn How to Request to be the Primary Admin or Contact in QuickBooks Desktop
While performing a business transition, it’s essential to “request to be the primary admin or co......

Safely Move Your Data With the Help of QuickBooks Migration Tool
Moving and managing your accounting data safely from one version to another is a crucial and challen......

Quick Steps to Unapply a Credit Memo in QuickBooks Desktop
Have you recorded a payment twice or accidentally overpaid a customer in QuickBooks Desktop? In such......
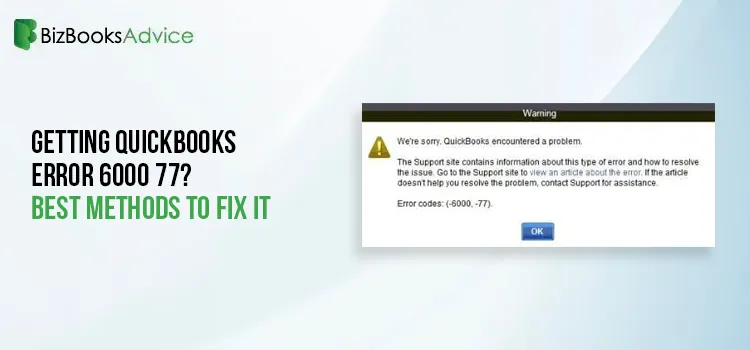
Getting QuickBooks Error 6000 77? Best Methods to Fix It
Does the error message “We’re sorry. QuickBooks encountered a problem. QuickBooks Error 6000 77�......