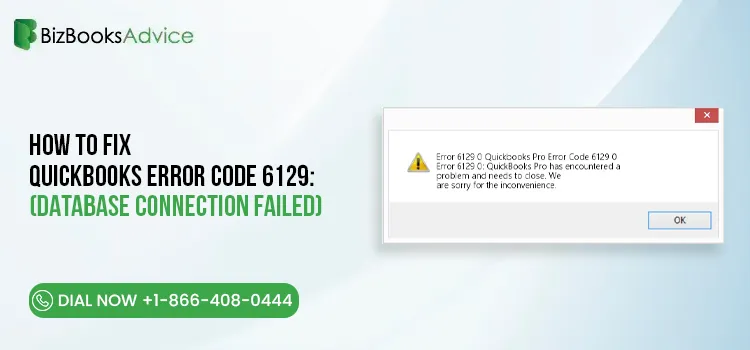
How to Fix QuickBooks Error Code 6129: (Database Connection Failed)
Running into QuickBooks Error Code 6129 can be challenging especially when it prevents your from ope......
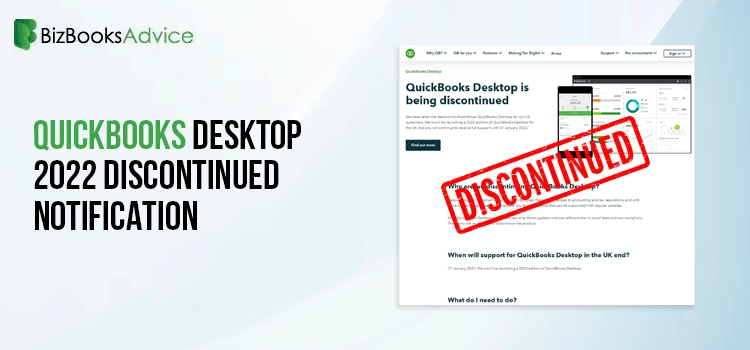
QuickBooks Desktop 2022 Discontinued – Guide for Transitioning Smoothly
To ensure users benefit from improved features and performance, Intuit retires older versions of Qui......
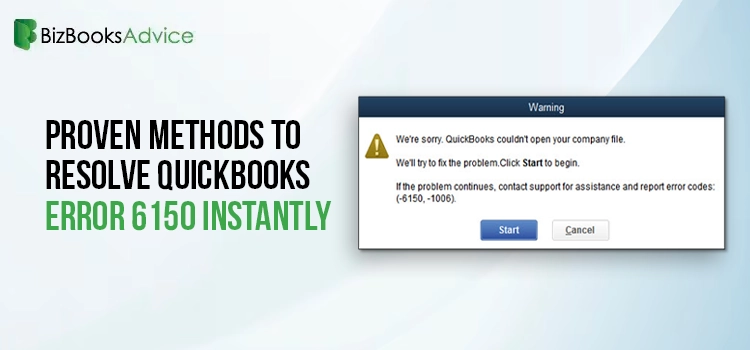
QuickBooks Error 6150: How to Fix It and Restore Your Company File
Many QuickBooks users complain about getting the QuickBooks Error 6150 along with the message statin......
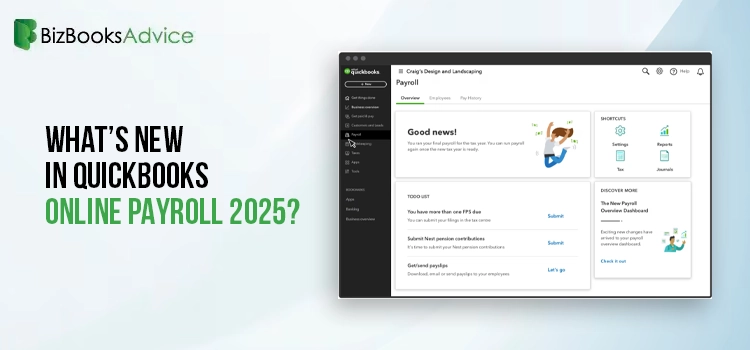
A Full Guide to QuickBooks Online Payroll for Small Businesses
Managing payroll processes can be time-consuming and complex for small businesses. This is where Qui......
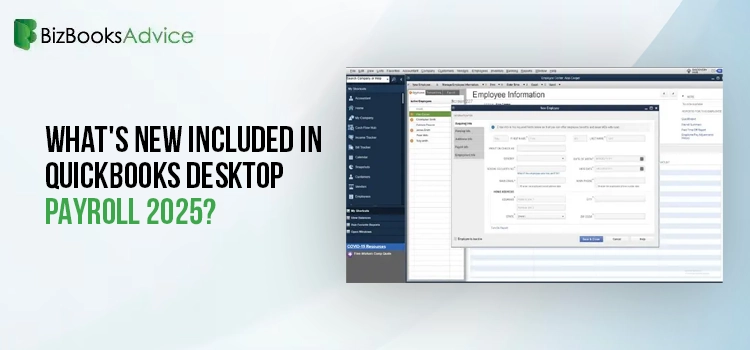
How to Use QuickBooks Desktop Payroll for Small Business
Payroll is found to be one of the most tedious, time-consuming, and challenging tasks, and it requir......
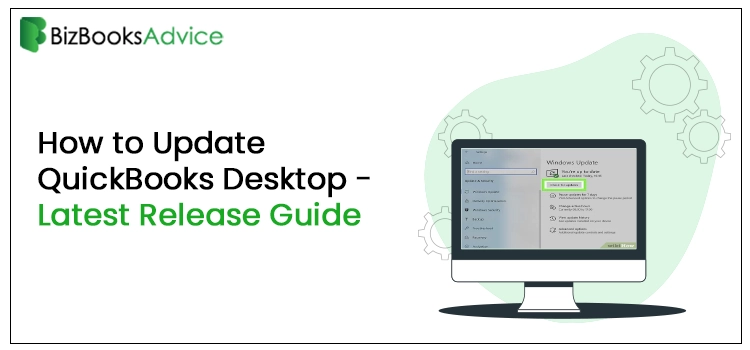
How to Update QuickBooks Desktop to the Latest Release Effortlessly?
Is your QuickBooks Desktop freezing, working slowly, or creating issues while opening? If yes, then ......
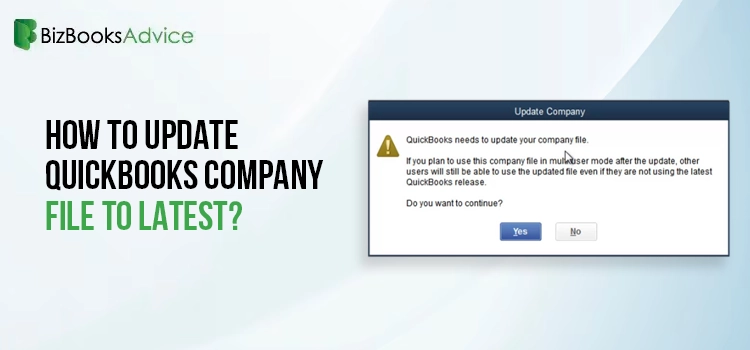
Why & How to Update QuickBooks Company File Safely? (Easy Guide)
Just like updating the QuickBooks Desktop software, it’s equally important to update QuickBooks co......
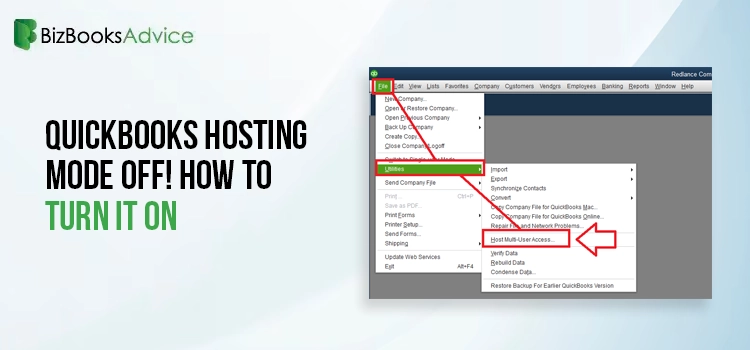
How to Resolve QuickBooks Hosting Mode Is Off With Expert Tips?
Users often complain about getting the “QuickBooks hosting mode is off” issue while tryi......
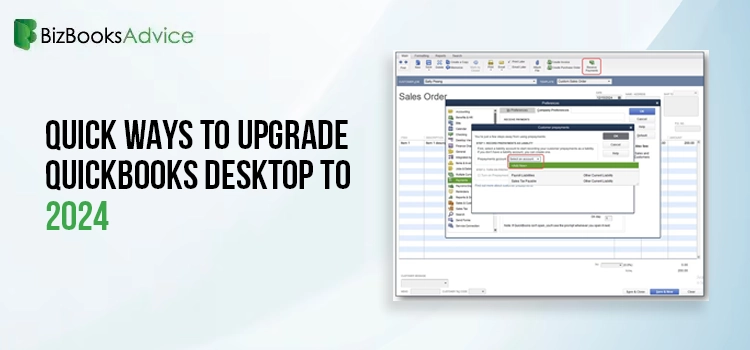
How to Safely Upgrade QuickBooks Desktop to the Latest Version?
Are you still running on QuickBooks Desktop 2023? If so, it’s time to upgrade QuickBooks Desktop t......