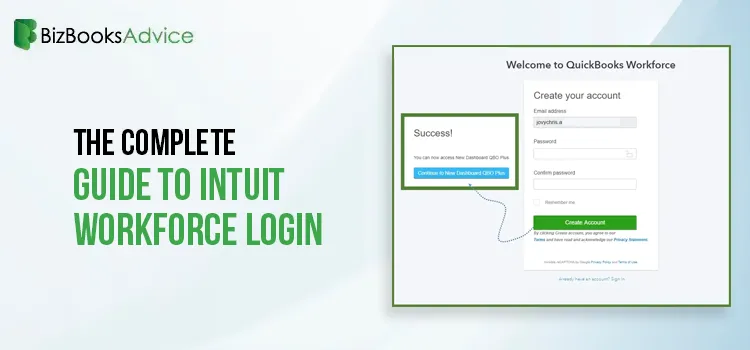
Intuit Workforce Login: Get Your Employee Details & More
Intuit Workforce Login is a one-stop mobile and web portal that provides access to all employee deta......

QuickBooks Error H101: Why It Happens & How to Fix It Quickly?
Running into QuickBooks Error H101 can be frustrating, especially when you try to access the company......
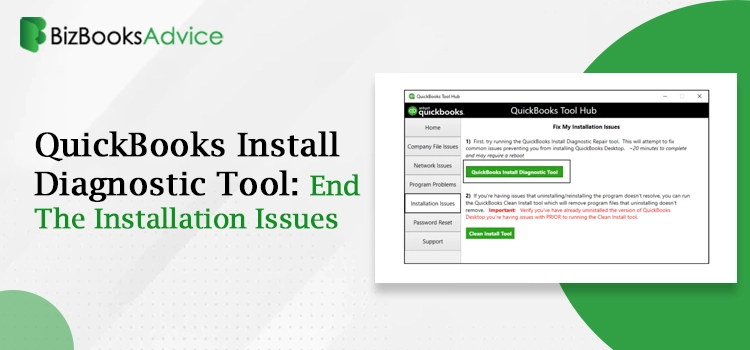
How to Setup QuickBooks Install Diagnostic Tool in Easy Steps?
Running into installation issues while trying to set up QuickBooks can be a bit frustrating, especia......

QuickBooks Unexpected Errors: Proven Solutions To Fix It
Users often encounter QuickBooks Unexpected error while performing different tasks, like refreshing ......
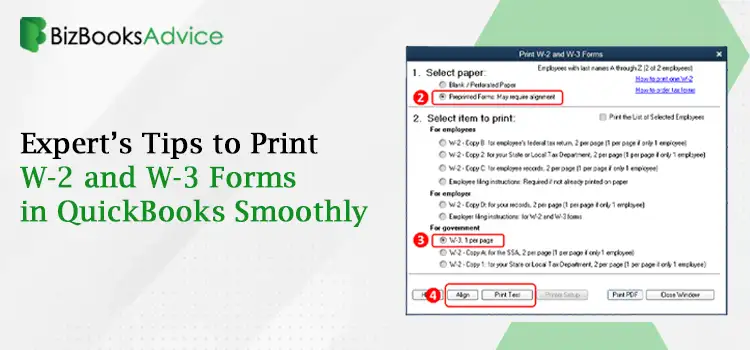
How to Print W-2 and W-3 Forms in QuickBooks (Online & Desktop)
Do you need to provide your employees with W-2 and W-3 forms before the deadline? If so, this guide ......
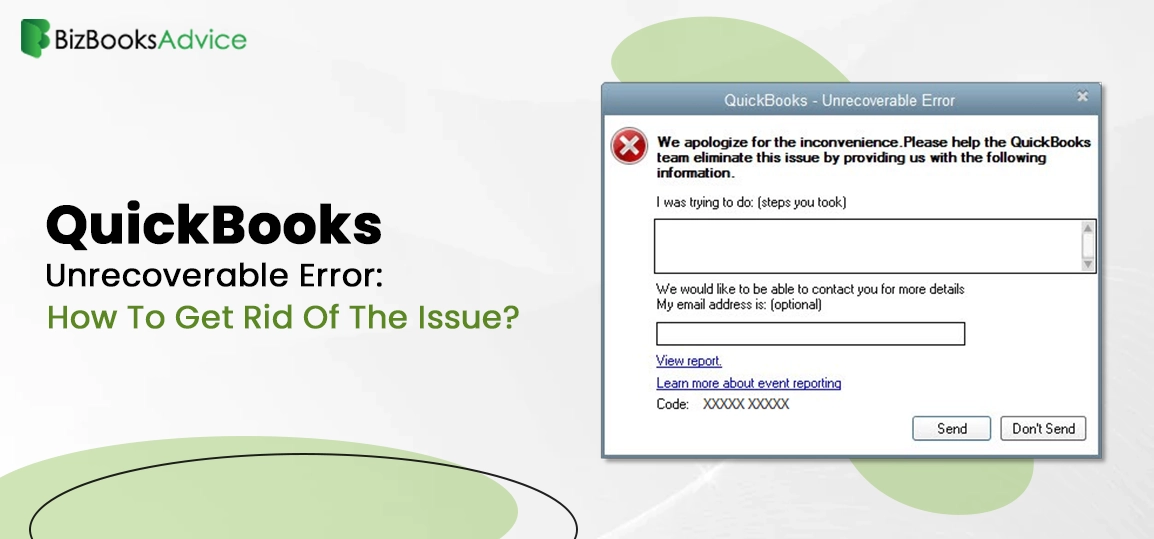
QuickBooks Unrecoverable Error: Easy Fixes to Get You Back to Work
Getting QuickBooks Unrecoverable error can be frustrating, especially when it restricts you from ope......
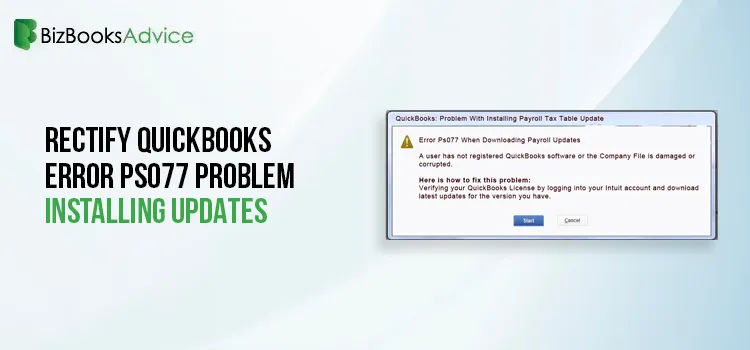
QuickBooks Error PS077: 5 Proven Ways to Fix Tax Table Issues
Payroll updates plays a vital role in calculating accurate taxes, but errors such as QuickBooks Erro......

What’s Causing QuickBooks Runtime Error 7149 & How To Get It Fixed?
Have you been discovering continuous freezing of your system while running the QuickBooks applicatio......

8 Essential Payroll Management Tips for Small Businesses in 2026
Payroll management is often one of the most tedious, complex, and time-consuming responsibilities fo......