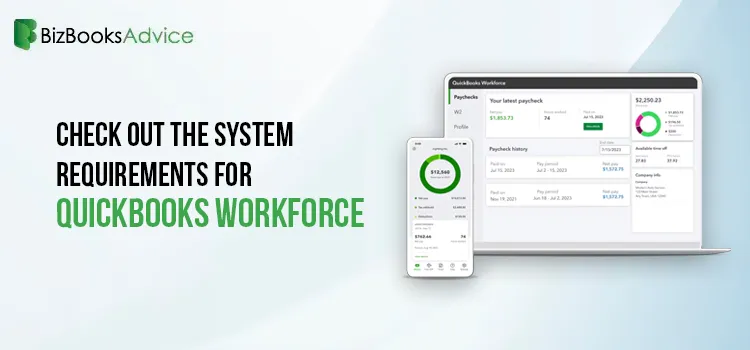
System Requirements for QuickBooks Workforce: Complete Setup Guide
QuickBooks Workforce is a great mobile application that helps in tracking the employees’ timin......
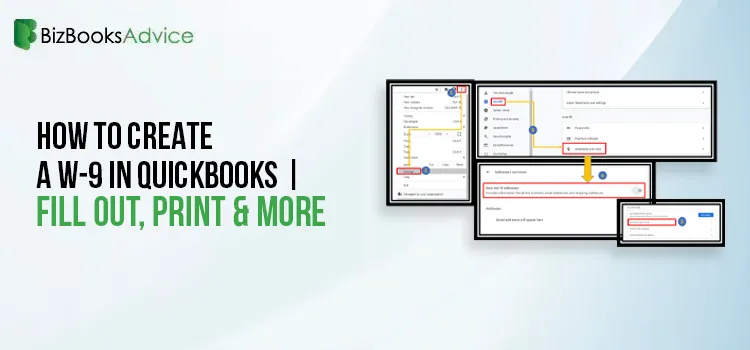
How to Create a W-9 Form in QuickBooks | Fill Out, Print & More
Do you want to gather the important details with the company or contractor with whom you wish to con......

Best Bookkeeping Software for small business in 2026: Quick Updates
Running a small business is a bit challenging as it comes with a lot of responsibilities, including ......

Bookkeeping Business: The Complete Guide for Small Business Success
Running a successful small business depends on one critical foundation—accurate bookkeeping. A boo......
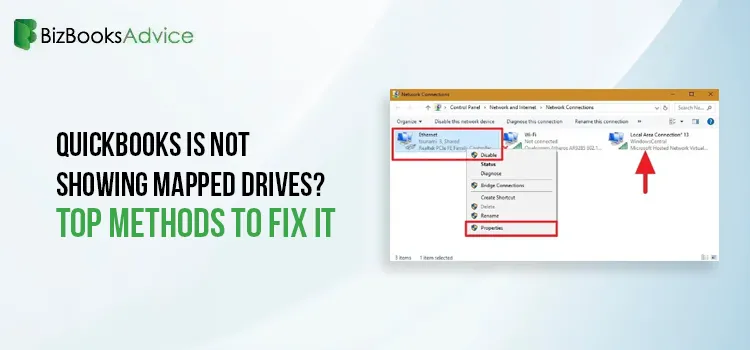
QuickBooks Not Detecting Mapped Drives? Fix Access & Network Issues Fast
Most often, the users might experience the QuickBooks is not showing mapped drives error if the Netw......
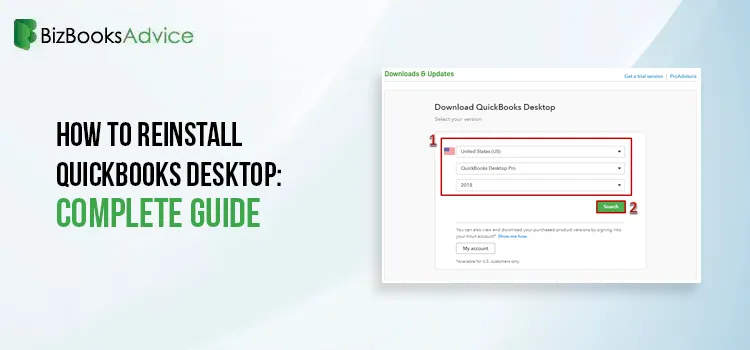
QuickBooks Desktop Reinstallation Made Simple & Fast
QuickBooks has become the first choice for many small businesses, earning it relentless appreciation......
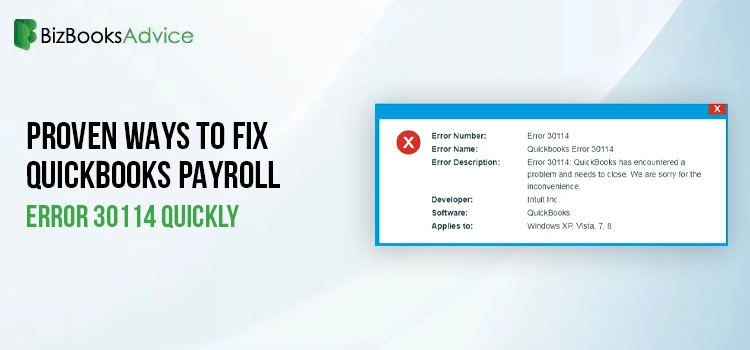
How to Resolve QuickBooks Payroll Error 30114 Quickly and Easily
Direct Deposit Feature in QuickBooks lets the users get their salary directly in their bank accounts......
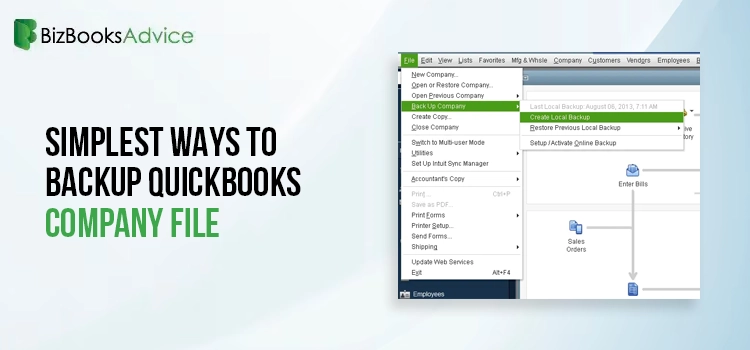
Easy Ways to Backup QuickBooks Company File
Are you concerned about the safety of the sensitive company data? Well, in that case, you must condu......
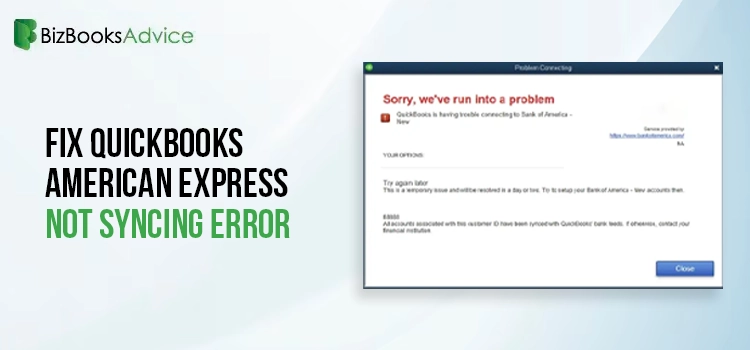
QuickBooks Not Syncing With American Express?
Most often, users might face the QuickBooks American Express Not Syncing issue when the bank is unde......