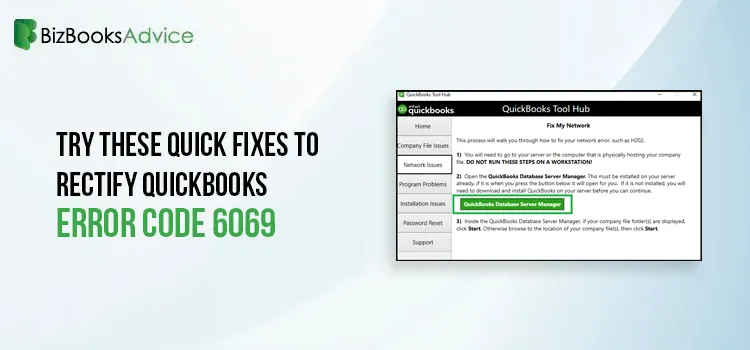
Try These Quick Fixes to Rectify QuickBooks Error Code 6069
QuickBooks Error Code 6069 is the most common company file error, which usually appears while openin......
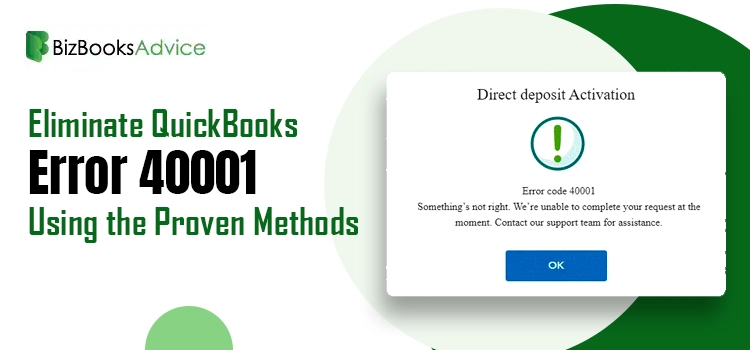
Fix QuickBooks Error 40001: Payroll Activation Issues
QuickBooks Error 40001 usually pops up on the screen during the activation of the direct deposit in ......
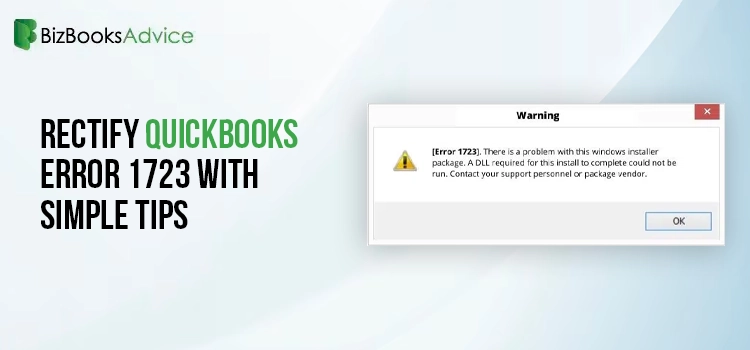
QuickBooks Error 1723: How to Resolve Windows Installer Problems
Windows Installer Package is basically a database-like file that holds all the essential requirement......
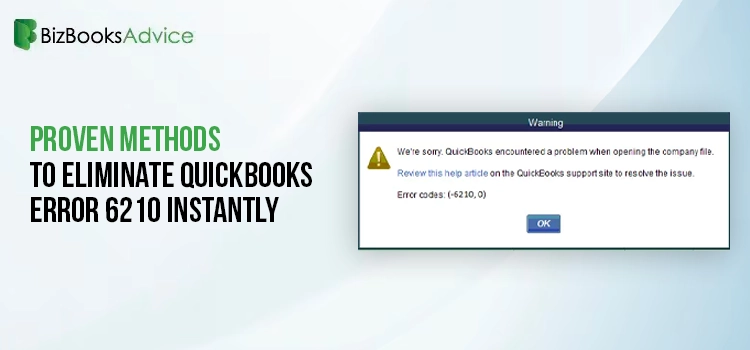
How to Fix QuickBooks Error Code 6210, 0 (Step-by-Step Guide)
Users often encounter QuickBooks Error 6210 while trying to launch a data file hosted on a computer,......

How to Resolve QuickBooks Error 3371 Status Code 11118?
QuickBooks Error 3371 Status Code 11118 flashes on the screen every time the user attempts to launch......

QuickBooks Error 1904: Simple Troubleshooting Guide
Have you got stuck while installing or updating the QuickBooks Desktop? This might happen due to the......
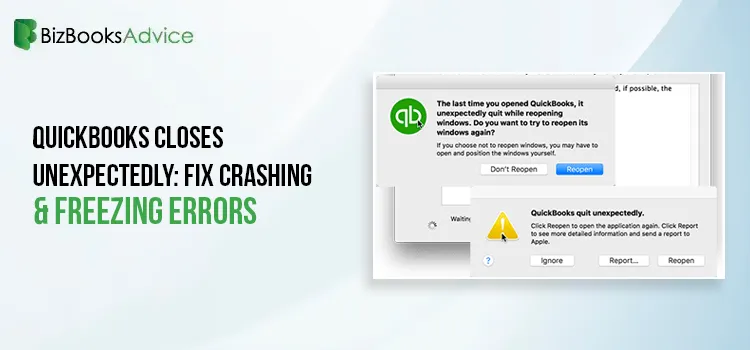
QuickBooks Close Unexpectedly? Here’s How to Stop It
Does your QuickBooks close unexpectedly while emailing a large report or working in QuickBooks Deskt......

Setup QuickBooks Database Server Manager & Access Multi-User Mode
Setting up the QuickBooks Database Server Manager is necessary for businesses that require multiple ......
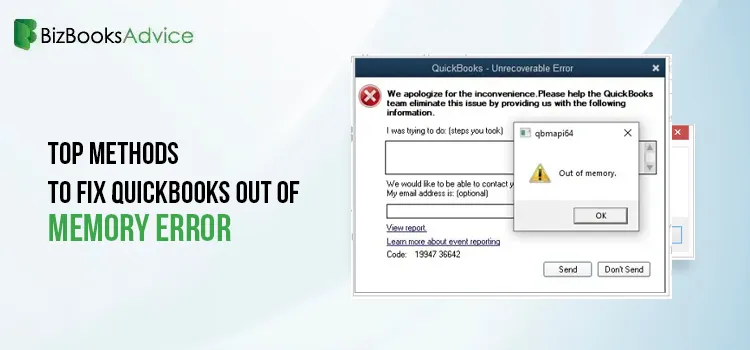
How To Troubleshoot QuickBooks Out of Memory Error?
Are you stuck with the qbmapi64 out of memory QuickBooks Desktop? This error often displays when the......