QuickBooks Connection Diagnostic Tool for Multi-User Issues

- By Jonathan Browns
- Jan 19, 2026
- Accounting
- 7 min read
QuickBooks users often encounter various issues, such as company file problems, network connectivity errors, or other technical glitches. To address these, Intuit offers the QuickBooks Connection Diagnostic Tool—a comprehensive solution for troubleshooting these common issues. This guide will walk you through the setup, usage, and steps to Download QuickBooks connection diagnostic tool to resolve errors effectively.
What is the QuickBooks Connection Diagnostic Tool?
The QuickBooks Connection Diagnostic Tool is a great utility launched by Intuit to deal with the network, data file, and connectivity issues linked with the QuickBooks services. Moreover, it is a great tool that also helps to resolve the issues faced while working in multi-user mode, like Error H101, H202, H303, and H505. Above all, it is also one of the best utilities used to resolve the damage or corruption in the company files.
Why is it Important to Run the QuickBooks Diagnostic Tool?
QB Diagnostic Tool is also known as QBNetDiagTool.exe, QBServerUtilityMgr.exe, which helps in dealing with the network-related issues. However, there are multiple other reasons for running this utility, which are as follows:
- By running the QB Connection Diagnostic tool, you can detect and then resolve the damage or corruption in the company file.
- Moreover, it also helps in fixing and rectifying unexpected errors and multi-user errors in QuickBooks Desktop.
- Another advantage is that the Connection Diagnostic tool is easy to use, and you can fix the errors smoothly.
- It is a free software that you can get only by purchasing the QB subscription.
What Errors Can the QuickBooks Network Diagnostic Tool Fix?
By running the QuickBooks Network Diagnostic Tool, you can get rid of the following QuickBooks issues smoothly. Let’s understand all of them in detail.
- You can resolve all the errors faced while running the QuickBooks Database Server Manager.
- If you are struggling while accessing the company file and come across 6000 Series of errors like 6150, 6103, 6000 83, etc, then you can run this tool.
- Also, you can troubleshoot the multi-user mode errors consisting of H101, H303, H505, and H202.
- Moreover, you can also resolve the firewall port issues in Windows.
- Above all, you can get rid of the QuickBooks Errors, including 1722, 1723, 1603, and 1618.
- Also, by running the connection diagnostic tool, you can overcome the QuickBooks Database connection issues.
What Are the System Requirements For the QuickBooks Diagnostic Tool?
The following are the basic system requirements that you must fulfil to run the QuickBooks Diagnostic Tool smoothly.
- The QB Connection Diagnostic Tool supports the Microsoft Windows XP, Windows Vista, and Windows 7 operating systems.
- Moreover, it also works well with the new versions of QuickBooks 2008.
- To download the Connection Diagnostic Tool in QuickBooks, you need good internet access.
- Make sure that you have a valid QuickBooks Desktop License and Product key for the product activation.
- Above all, you must ensure that you have installed the new version of the Microsoft components, such as C++ and MSXML.
How to Download QuickBooks Connection Diagnostic Tool Free?
To download the QuickBooks Connection Diagnostic Tool for free, you must undertake the following steps.
- Under this process, you must access the Intuit website or a trusted website to get the QuickBooks connection diagnostic tool download.
- After this, tap on the official download link to resume the downloading of the QuickBooks diagnostic connection tool tool. You will see the downloaded setup file QBInstall_tool_vs.exe. Save it to a secure location.
- Once you have downloaded the tool, search for the QBInstall_tool_vs.exe file and then double-tap on the installation wizard.
- Throughout the entire downloading process, make sure that your system remains connected with a stable internet connection.
- Now, when you are done with the QuickBooks Network Diagnostic Tool.
How to Install the QB Diagnostic Tool With Easy Steps?
Now that you have downloaded the QB Diagnostic Tool, it’s time to install it on your preferred operating system.
- Before installing the new version of the Connection diagnostic tool QuickBooks, ensure that there is no older version installed. If any version is already installed, then uninstall it to proceed further.
- After this, double-tap on the downloaded setup file of the QuickBooks Connection Diagnostic tool.
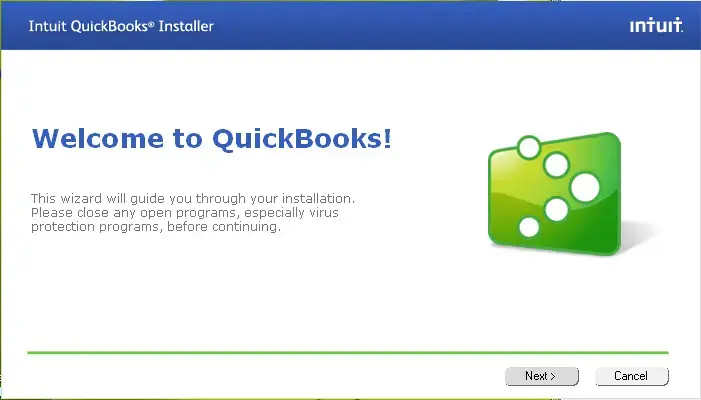
- Once you see the “Welcome to the QuickBooks Diagnostic Tool Setup Wizard” message on the screen, hit the Next tab.

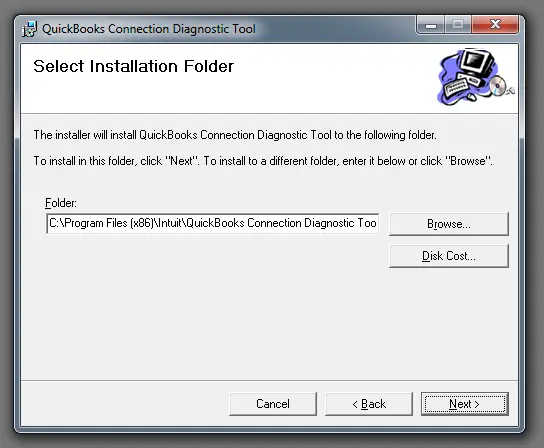
- Thereon, hit the Next tab once again for the confirmation or change the installation folder.
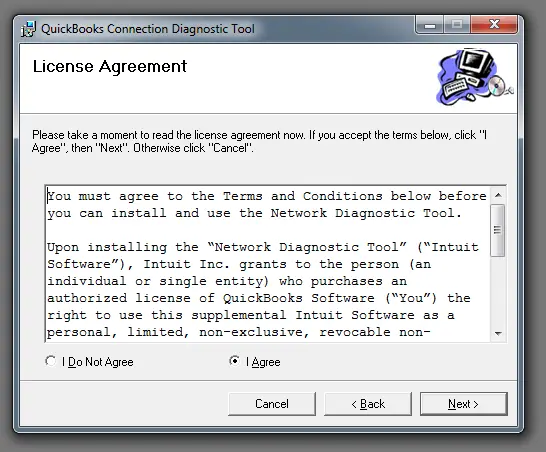
- Now, pick the “I Agree” option for accepting the terms and conditions specified on the License Agreement.
- Furthermore, the users are required to pick the installation folder according to the suitability for saving the file.
- Once you have completed the installation part, wait patiently to launch the QuickBooks Network Diagnostic Tool.
- In case you couldn’t launch the tool, then tap on the QuickBooks icon and move to the company file’s directory.
- Moving further, you must provide the Admin Username and Password accurately.
- Finally, hold on for some time till the time you run the QuickBooks Connection Diagnostic Tool and rectify the issues.
Read More:- QuickBooks Install Diagnostic Tool
How to Employ the Connection Diagnostic Tool in QuickBooks?
After you download, install, and set up the Connection Diagnostic Tool, let’s begin with the employment process. For that, you must undertake the instructions outlined below.
- Herein, first, you need to click on the QuickBooks icon.
- Once you see that QuickBooks opens, you must avoid accessing the damaged data file.
- Now, choose the Repair the File option and then opt for the Utilities tab.
- Next, select the Network Problems tab and then click the Yes button to grant QuickBooks the necessary permissions to access your personal data.
- In case you couldn’t see any message on the screen, then it states that it states that the permissions are already authorized.
- Now, start accessing the Folder holding the data file. Then start looking for the file that is damaged or corrupt and hit the Open tab.
- Now, you must browse to the Show Advanced Settings tab, and it will launch a list of items.
- Thereon, you must choose the issue associated with your current situation. Then, use the accurate QuickBooks ID and Password to log in.
- Finally, after performing the above steps, proceed to the QuickBooks Connection Diagnostic Tool.
How to Use QB Connection Diagnostic Tool & Fix Accounting Issues?
There are different tabs that are included within the QB Connection Diagnostic tool. We have described all the tabs along with their usage to resolve the QuickBooks network-related, multi-user, or company file issues.
1. Diagnose Connection Tab-
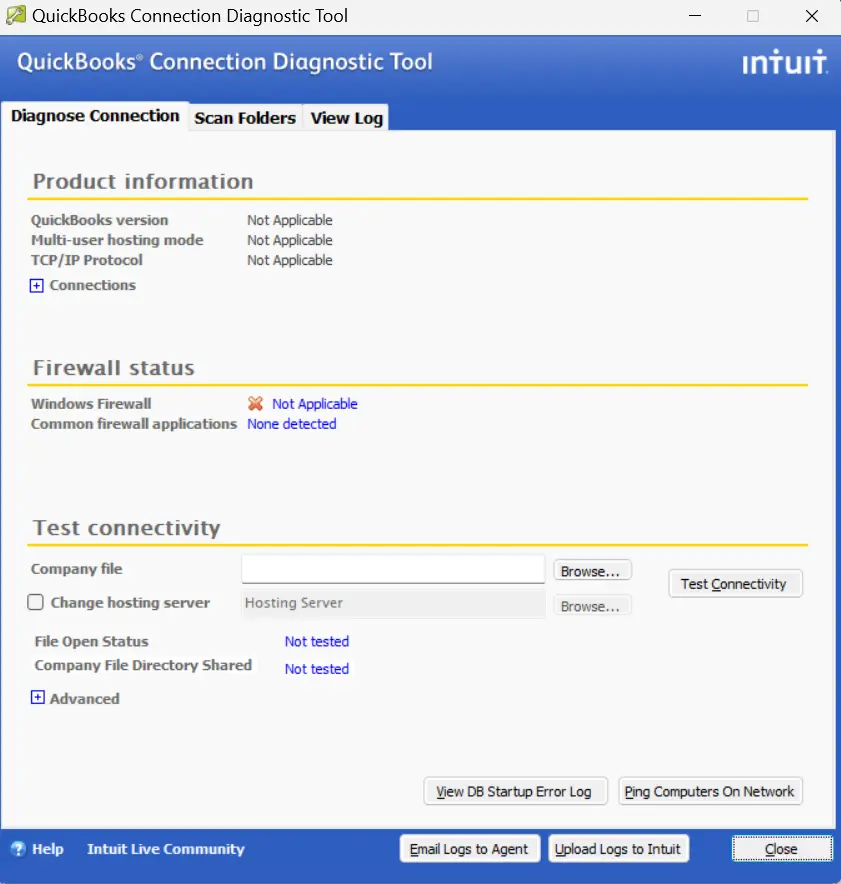
The first tab that you see on the Dashboard is the Diagnose Connection tab. This tab will ensure that you can launch the data file from your computer in single-user or multi-user mode. You may receive the errors continuously if you don’t have proper file permissions or when the firewall ports are blocked.
2. Firewall Status-
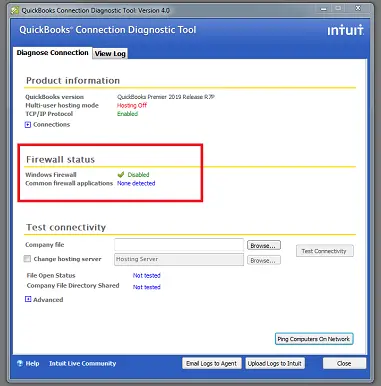
The Firewall Status will present you with basic information and guidelines regarding the firewall on your screen.
3. Test Connectivity-

With the help of this feature, you can examine the connectivity of your workstation or computer.
Step-by-Step Instructions To Check the Connectivity
- Under this process, you will notice a tab beside the Company File field, which enables you to search for the data file.
- After this, pick the “Change Hosting Server” when your network is set up on a Linux Server and running in Alternate mode.
- Once you run the connectivity test, you will notice that the status will either appear in Green or red. Herein, the Green color indicates that there are no issues with the network connectivity. Whereas, the Red Color indicates that there are some issues with the network connectivity.
- Thereon, the user must choose the “Test Connectivity” tab.
- If you notice that the connectivity test fails and the File Open Status shows Red, you will see the Advanced sections with detailed checks. Later on, opt for the “What do these mean?”.
- Afterwards, the user is supposed to fix the relevant status to run the connection tool once again.
- If you are still experiencing the issue, and you open the “File Open Status”. Then, you will get a Successful message on the screen. issue
4. Scan Folders Tab:

Within the Scan Folders tab, you will get an option to add the QuickBooks folder and then scan to get the company files. Once you see that the file is linked with the Connection Diagnostic Tool, you can review the file’s ND and the Folder’s shared status.
5. View Log Tab:
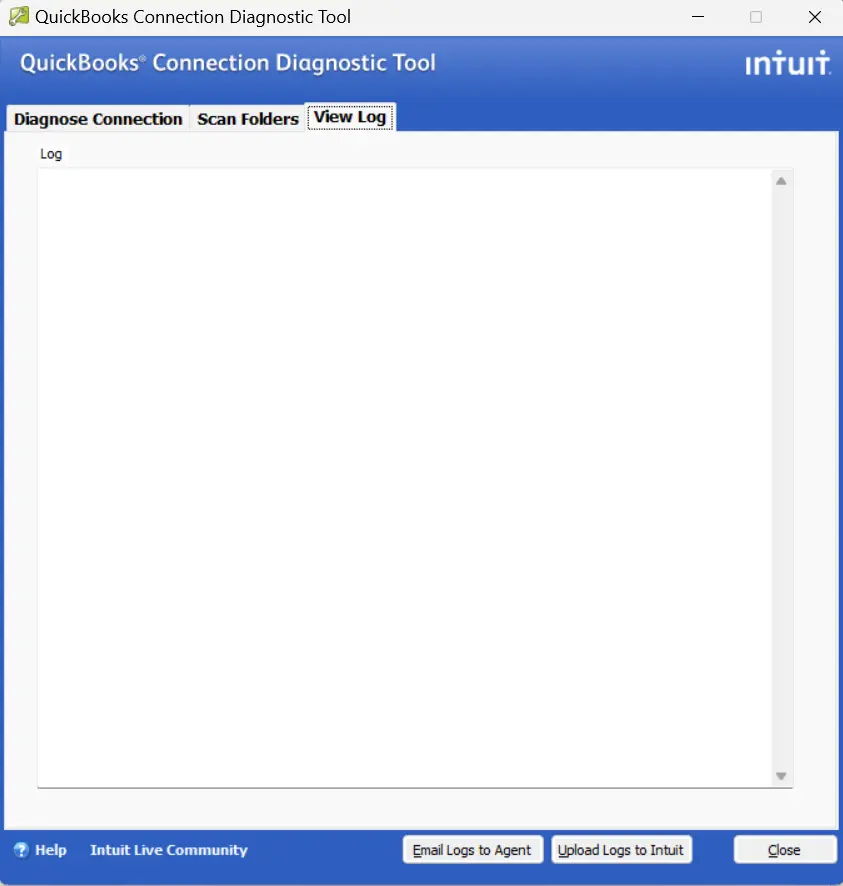
Under this section of the QuickBooks connection diagnostic tool, you can access the logs created by the QuickBooks application. Also, you have the option to upload them to Intuit for further investigation.
Conclusion
QuickBooks Connection Diagnostic is a great utility that helps to troubleshoot the company file issues, multi-user mode issues, and other network-related problems. Thus, it lets you work with the QuickBooks application without any hassle. Furthermore, if you are still having any trouble running this tool, then connect with our QB professionals for better guidance.
Frequently Asked Questions (FAQ’s)
1. How can you rectify a connection error in QuickBooks?
To deal with the connection error in QuickBooks, perform the steps below.
- Initially, you must run the Connection Diagnostic tool to identify and resolve the network-related problems.
- After this, ensure that your network is set up appropriately and all computers are linked to the same network.
- Also, verify that the firewall and antivirus settings to verify that they are not blocking QuickBooks.
- At last, ensure that QuickBooks is up to date.
2. Where can I get the Program Diagnostic Tool option in QuickBooks?
You can either download the QuickBooks Connection Diagnostic Tool from the Intuit website or from the Tool Hub program.
3. What are the different errors that you can rectify using the QB Connection Diagnostic Tool?
By running the QB Connection Diagnostic Tool, you can resolve company file errors, including Error Codes 1722, 1603, and the series of H errors.
4. What are the different components included in the QuickBooks Connection Diagnostic Tool?
The different components included within QuickBooks Connection Diagnostic Tool are test connectivity, firewall status, and diagnose connection.
5. Is it possible to run the QuickBooks Diagnostic Tool on the terminal server?
Yes, you have the option to run the QuickBooks Diagnostic Tool on the terminal servers.
About The Author

Jonathan Browns
Jonathan Brown is a trained QuickBooks professional with 10 years of experience in the accounting sector. Moreover, he is passionate about helping businesses reduce the stress of managing accounts. Also, he is proficient in assisting entrepreneurs and small business owners to use QuickBooks and enhance their accounting experience.

QuickBooks Desktop, Payroll or Enterprise
Advanced Support for QuickBooks Desktop, Payroll & Enterprise Solutions
From payroll tax setup, direct deposit issues to Enterprise performance tuning and Desktop upgrades - our QuickBooks experts provide accurate and stepwise assistance. Get dependable support designed to minimize downtime and maximize efficiency.
Recent Posts
-
QuickBooks Not Connecting to Server: A Troubleshooting Guide
-
How to Fix QuickBooks Self-Employed Login Issue Easily?
-
QuickBooks Script Error? Here's How to Fix It Fast
-
How to Migrate from QuickBooks Desktop to Online - Step-by-Step Guide
-
QuickBooks Online Advanced Login, Pricing & Feature Comparison Guide