QuickBooks Desktop 2023 Discontinued: What’s Next
With QuickBooks Desktop 2023 discontinued on May 31st, 2026, its support ends. This will affect cert......
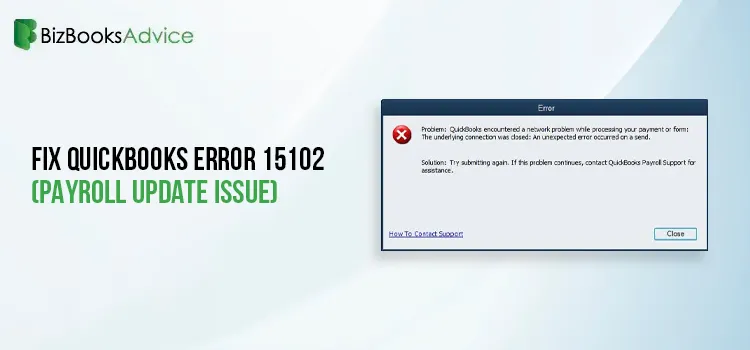
Fix QuickBooks Error 15102: Stop Payroll Update Failures
Are your payroll tasks getting affected due to the issues faced while installing the latest QuickBoo......

Resolve QuickBooks Error Code 6154 (Can’t Open Company File)
Are you seeing the error message “Error 6154: When QuickBooks company file not open or QuickBooks ......
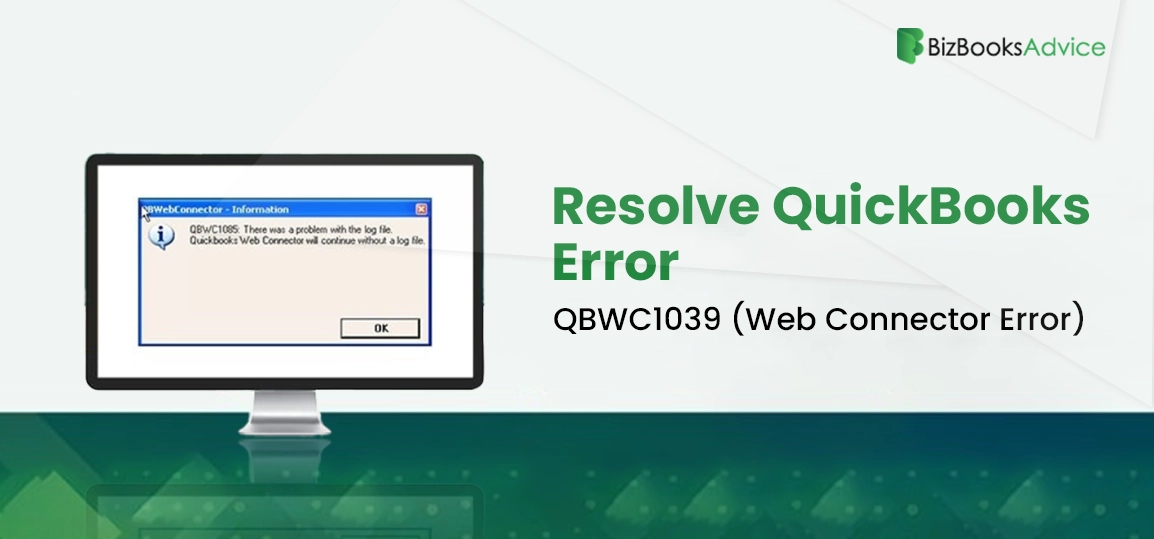
Best Feasible Ways to Troubleshoot QuickBooks Error QBWC1039
QuickBooks Web Connector is a great tool that lets web-based applications exchange data with the Qui......
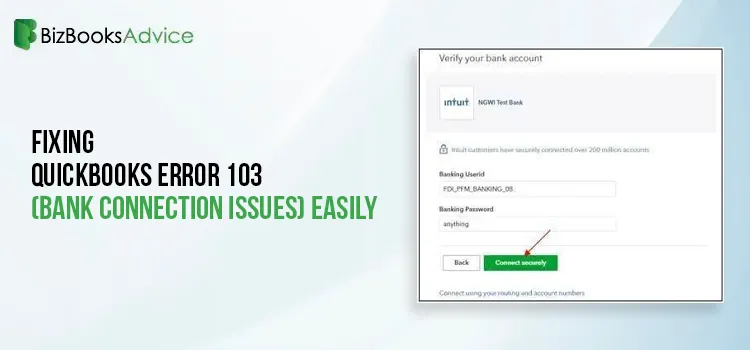
Fixing QuickBooks Error 103 (Bank Connection Issues) Easily
Did you get stuck with QuickBooks Error 103 while connecting your bank to QuickBooks Online? Well, t......
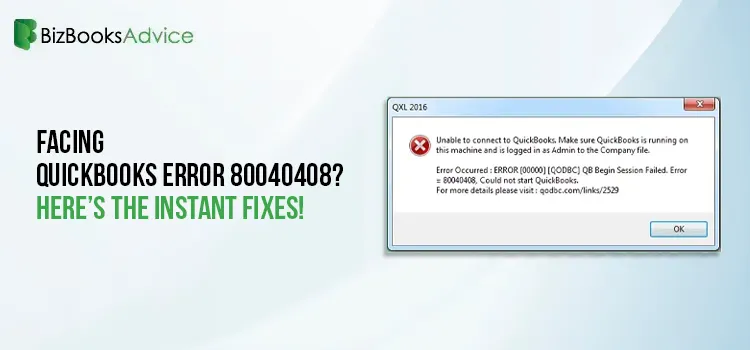
Facing QuickBooks Error 80040408? Here’s the Instant Fixes!
Are you getting QuickBooks Error 80040408 while opening the QuickBooks Desktop or your company file?......

Fix QuickBooks Error 15225 When Updating Payroll
Software updates play a crucial role, especially when you are using the QuickBooks Desktop applicati......
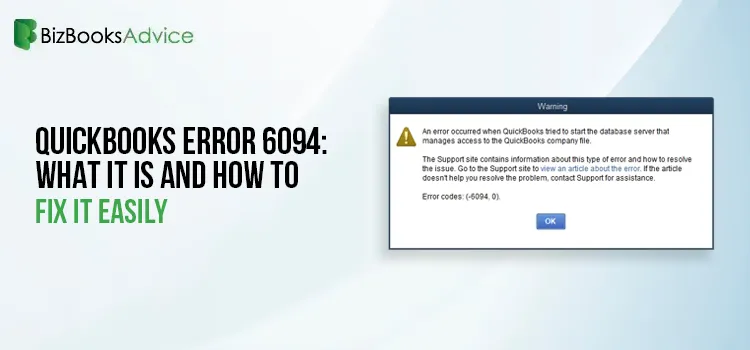
QuickBooks Error 6094: What It Is and How to Fix It Easily
Are you stuck with the error message “An error occurred when QuickBooks tried to start the databas......
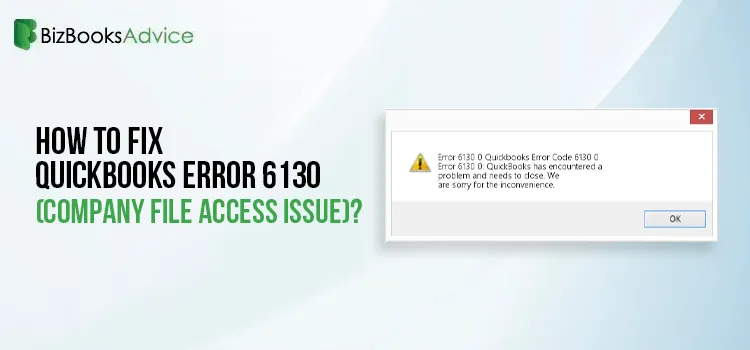
How to Fix QuickBooks Error 6130 – 8 Easy Solutions
QuickBooks Error 6130 is part of the 6000-series company file access errors that usually occur when ......