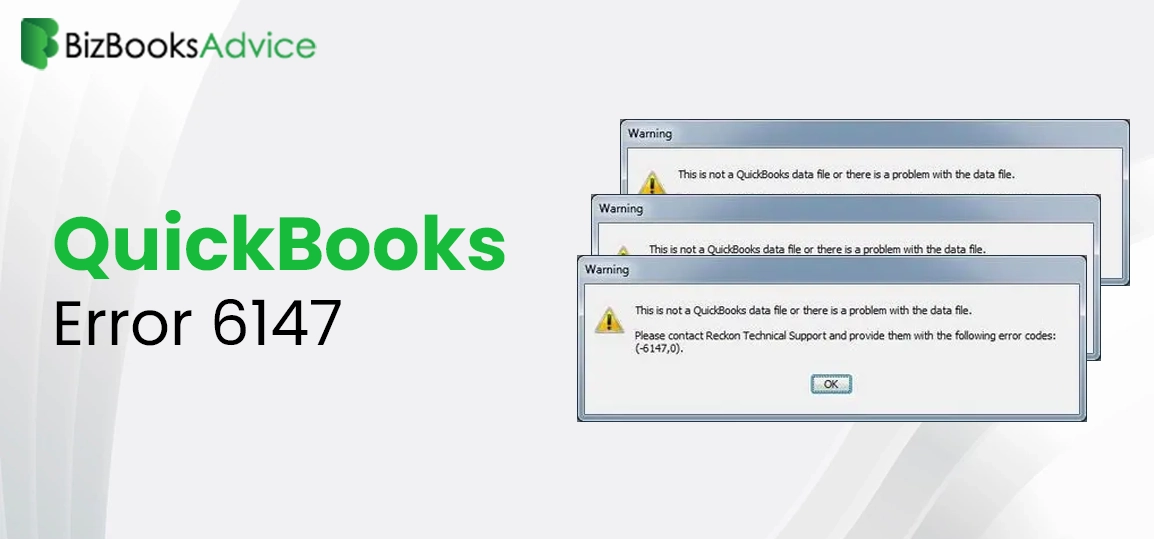
QuickBooks Error 6147: Top Method to Fix Backup & Restore Issues
Many users get the error message “QuickBooks Error 6147, 0: QuickBooks is unable to open this comp......
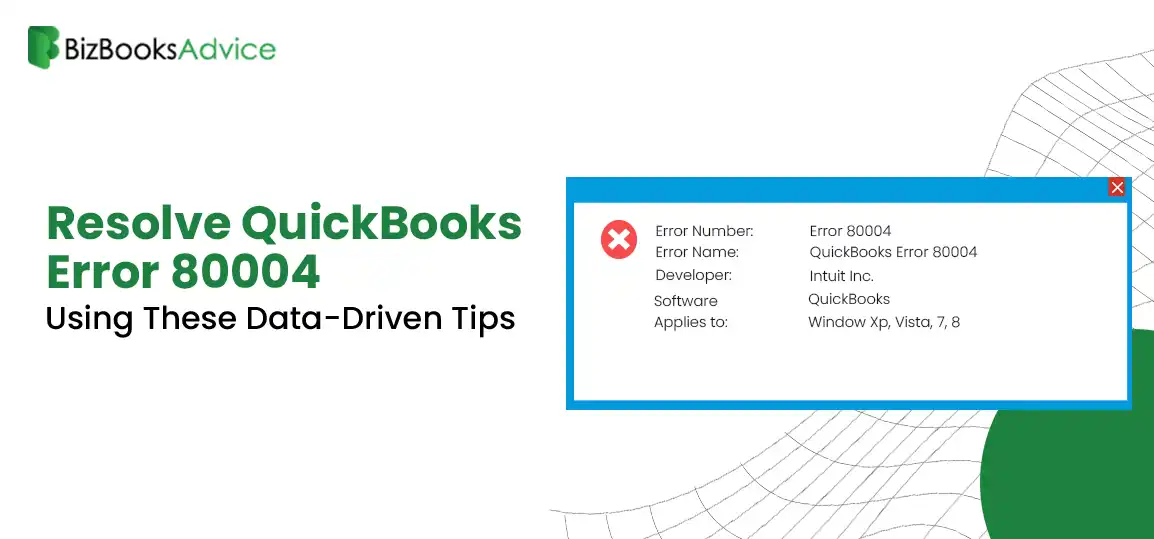
Resolve QuickBooks Error 80004 Using These Data-Driven Tips
Payroll is the most essential business task, which occupies a lot of time and effort, especially whe......
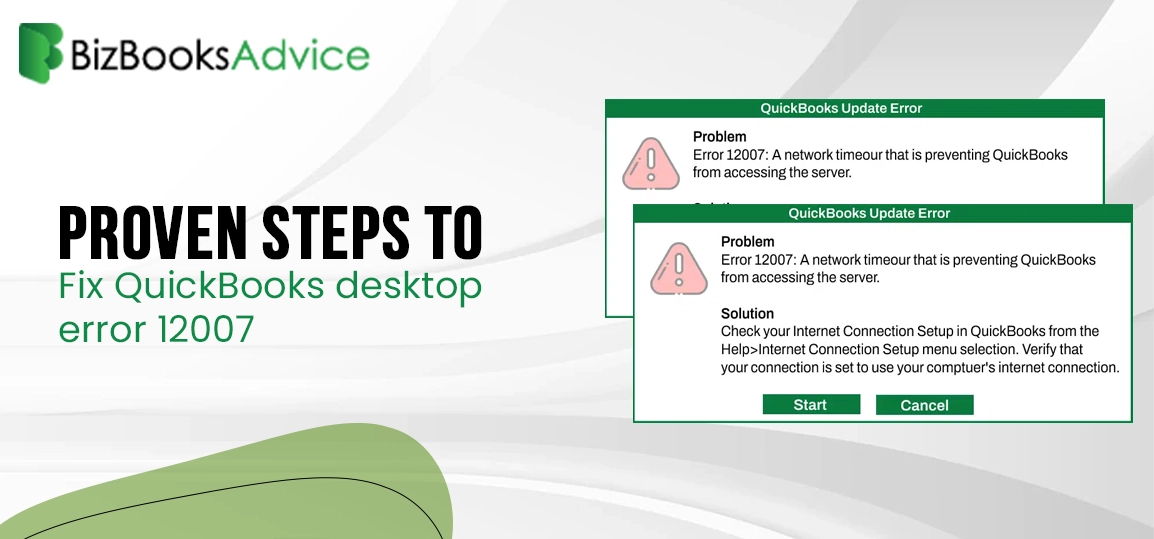
Understanding QuickBooks Error 12007: A Comprehensive Guide
Many QuickBooks users report QuickBooks Error 12007 while trying to download updates or access onlin......

Is QuickBooks Desktop 2021 Be Discontinued? Latest Updates
Are you still working on QuickBooks Desktop 2021 and received a notice about the service ending? If ......
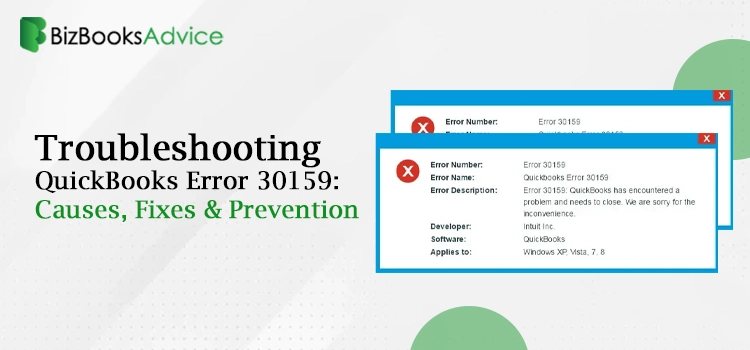
Why QuickBooks Error 30159 Occurs & How to Resolve It?
While updating payroll in QuickBooks Desktop, users get stuck with QuickBooks Error 30159, which sto......

Quick Guide to Fix QuickBooks Bank Error 105
QuickBooks Online is outstanding accounting software that offers robust solutions for small and medi......
QBCFMonitorService Not Running? Know How to Get It Started
The users might require QBCFMonitorService and QuickBooks Database Server Manager to run QuickBooks ......

QuickBooks Has Stopped Working: Complete Troubleshooting Guide
Nothing is more frustrating than encountering the QuickBooks has stopped working error message while......
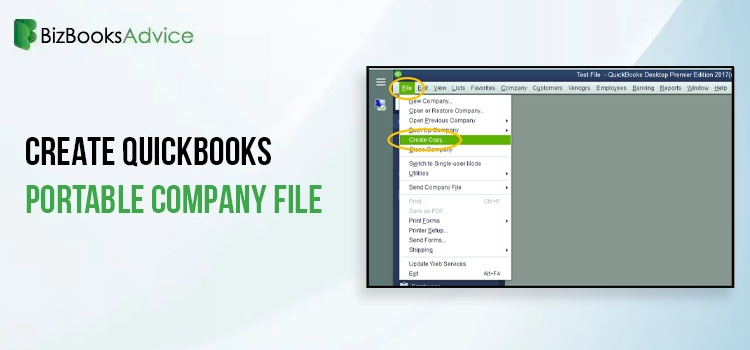
Create QuickBooks Portable Company File: Move QB Data Easily
Worried about transferring your large company file data to a new computer? Well, in that case, you m......